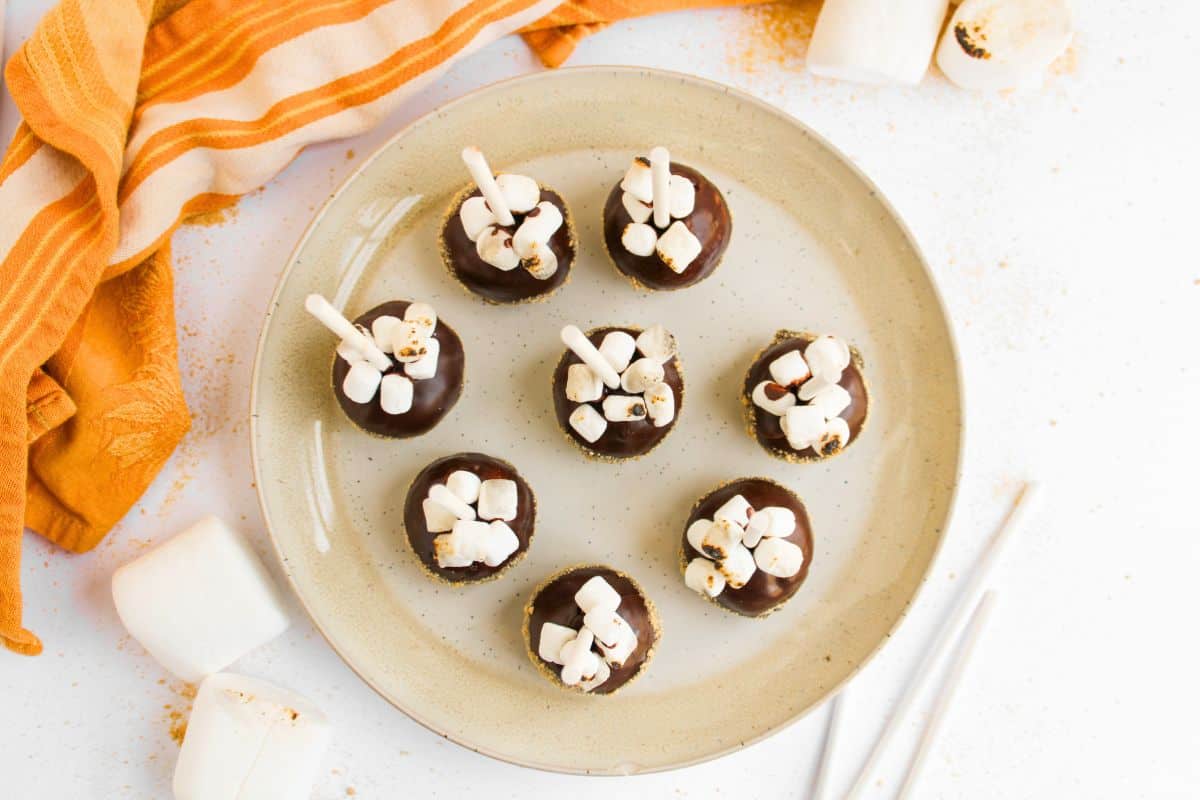
If you’re craving an easy s’mores dessert that’s just as fun to make as it is to eat, this s’mores cake pops recipe is one to try. Picture all your favorite campfire smores flavors, rich chocolate, toasted marshmallow, and crunchy graham crackers, packed into a sweet, bite-sized treat on a stick. No campfire required!
These smores cake pops are the perfect party desserts for just about any occasion. Whether you’re hosting a camping themed birthday party, a backyard barbecue, or a bake sale, they’re easy to make ahead, portable, hand held, and always a hit with a crowd.

And because they capture that cozy, nostalgic s’mores flavor, they work beautifully year-round. Serve them up as a light summer dessert, or add them to your lineup of fall treats for a cozy autumn gathering.
If you love s’mores recipes, try these smores cookies or these indoor smores with Nutella.
Why You’ll Love This S’mores Cake Pops Recipe
- No campfire required: Rich milk chocolate, toasted marshmallow, and crunchy graham cracker crumbs come together in every bite, giving readers that nostalgic campfire taste any time of year.
- Easy to make: With a boxed cake mix as the base and simple steps like rolling, dipping, and freezing, these cake pops are approachable for all bakers while still feeling like a special treat.
- Fun party treat: Their bite-sized, portable format makes them perfect for birthday parties, cookouts, picnics, or camping-themed desserts, and the toasted marshmallow topping adds an eye-catching touch.
Ingredients
To make s’mores cake pops you’ll need the following ingredients. I cover a few of the key ingredients here, you can find the specific quantities and steps in the recipe card below.
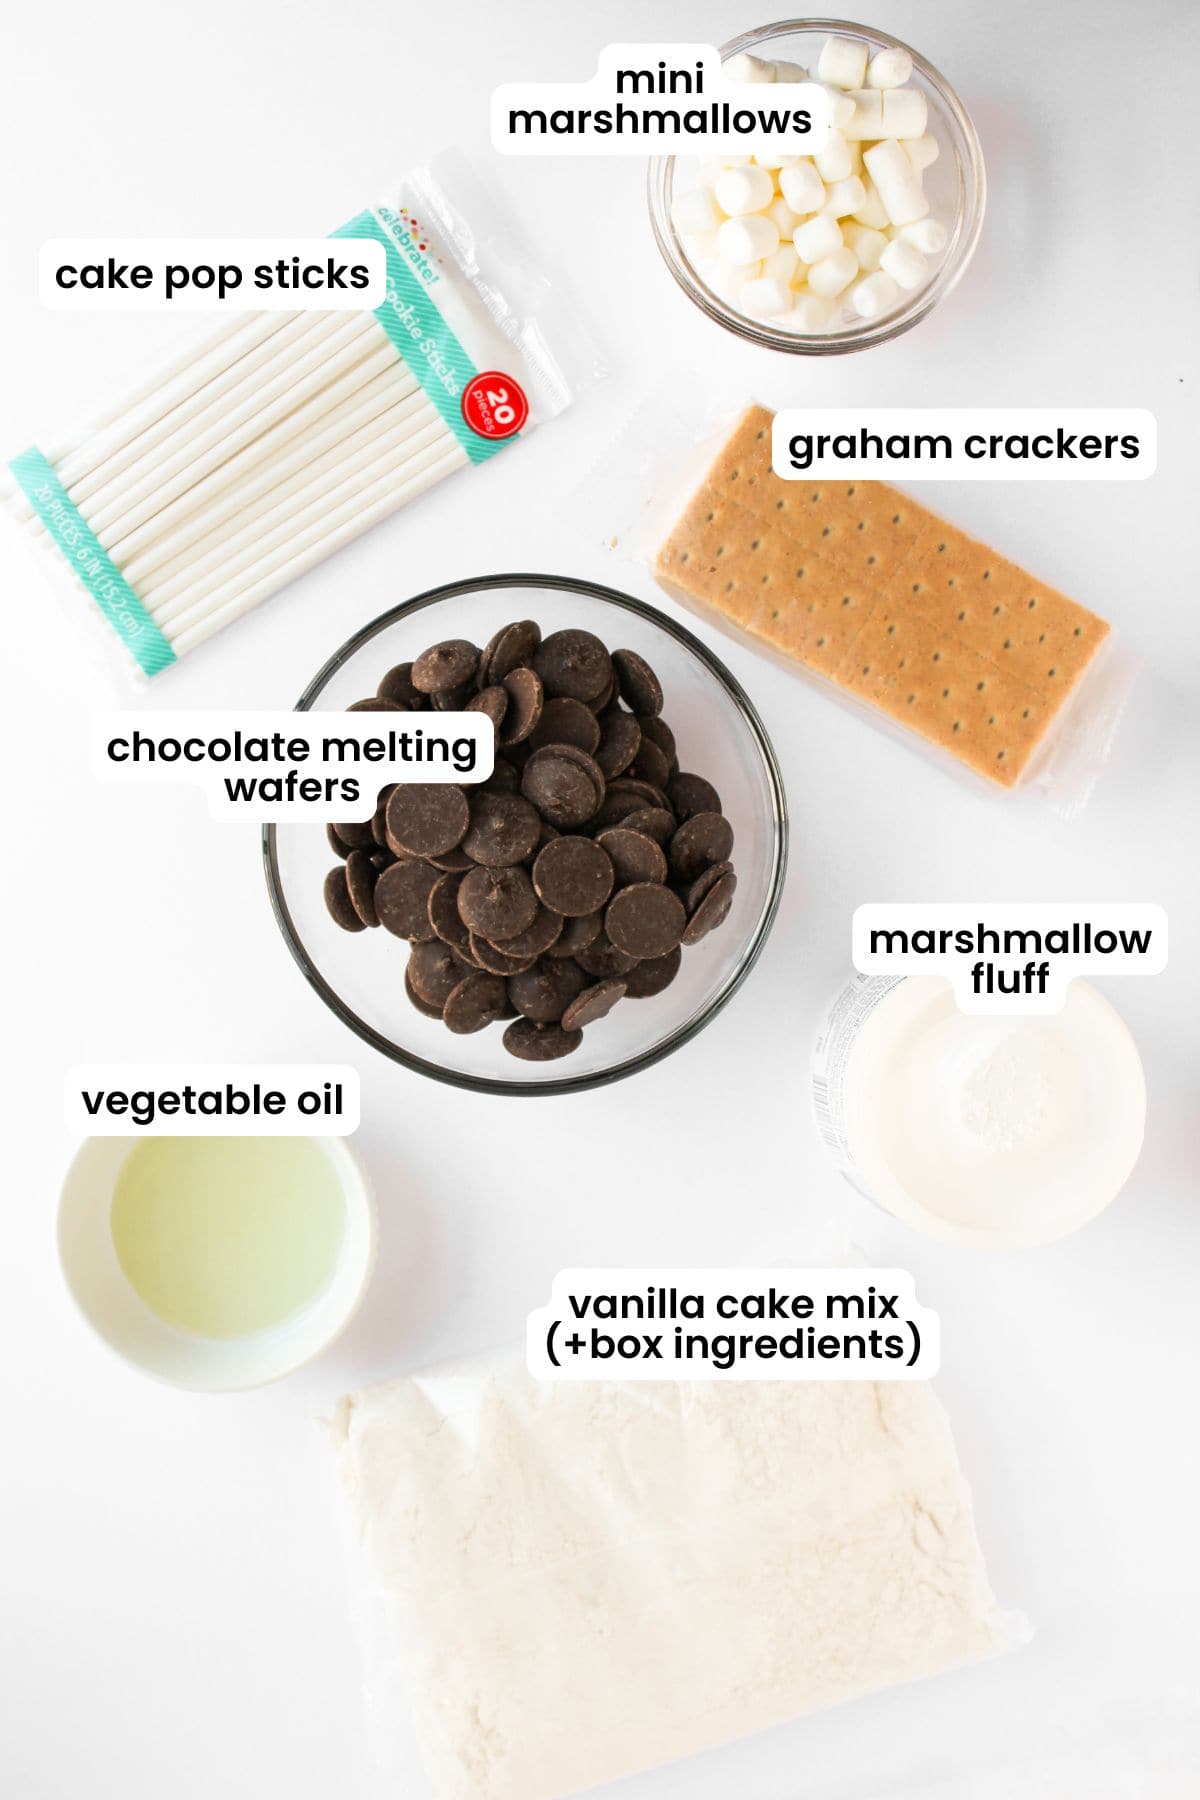
- Vanilla cake mix: Use your favorite boxed cake mix for a quick and easy bake. You will need all the ingredients listed on the box to bake the cake. Alternatively, simply buy a pre-made vanilla cake from the supermarket.
- Marshmallow fluff: Used to bind the cake crumbs and add smores flavor and sweetness.
- Chocolate wafers: You will need milk chocolate melting wafers for this recipe. Use the best quality chocolate you can afford for the best tasting cake pops.
- Mini marshmallows: These are added to the top of the cake pops for a classic smores dessert.
- Graham crackers: Crush the sheets using a food processor or buy pre-made graham cracker crumbs.
- Vegetable oil: Used to thin the melted chocolate for a runny consistency ideal for dipping.
How To Make Smore Cake Pops
Here’s a quick overview of how to make smores cake pops at home. For the full recipe details, including ingredients and measurements needed, scroll down to the printable recipe card below.
You will need a large mixing bowl, small microwave-safe bowl, parchment lined baking sheet, spatula, and cake pop sticks to get started.
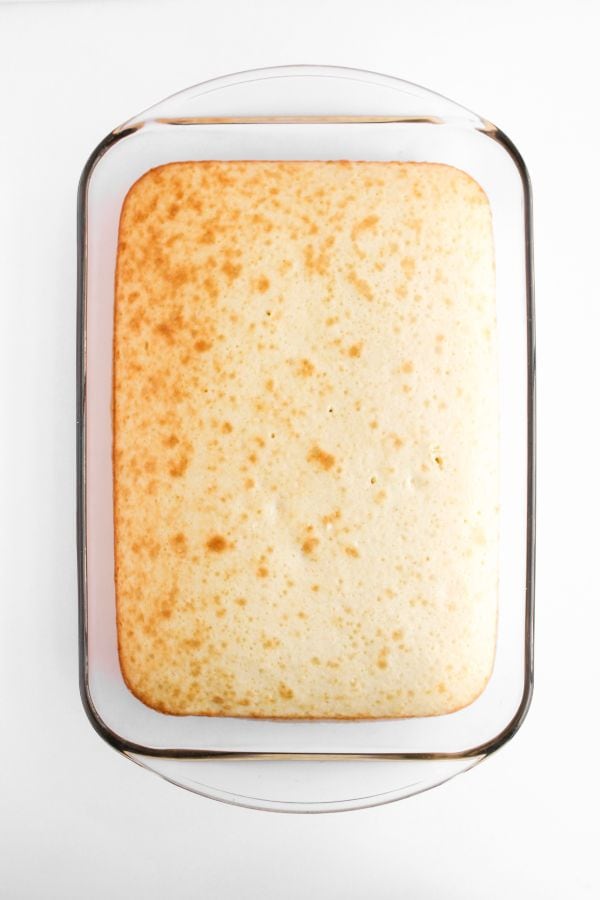
Step 1: Bake the cake. Follow the instructions on your boxed cake mix to make the vanilla cake. Once cooked, set aside to cool.
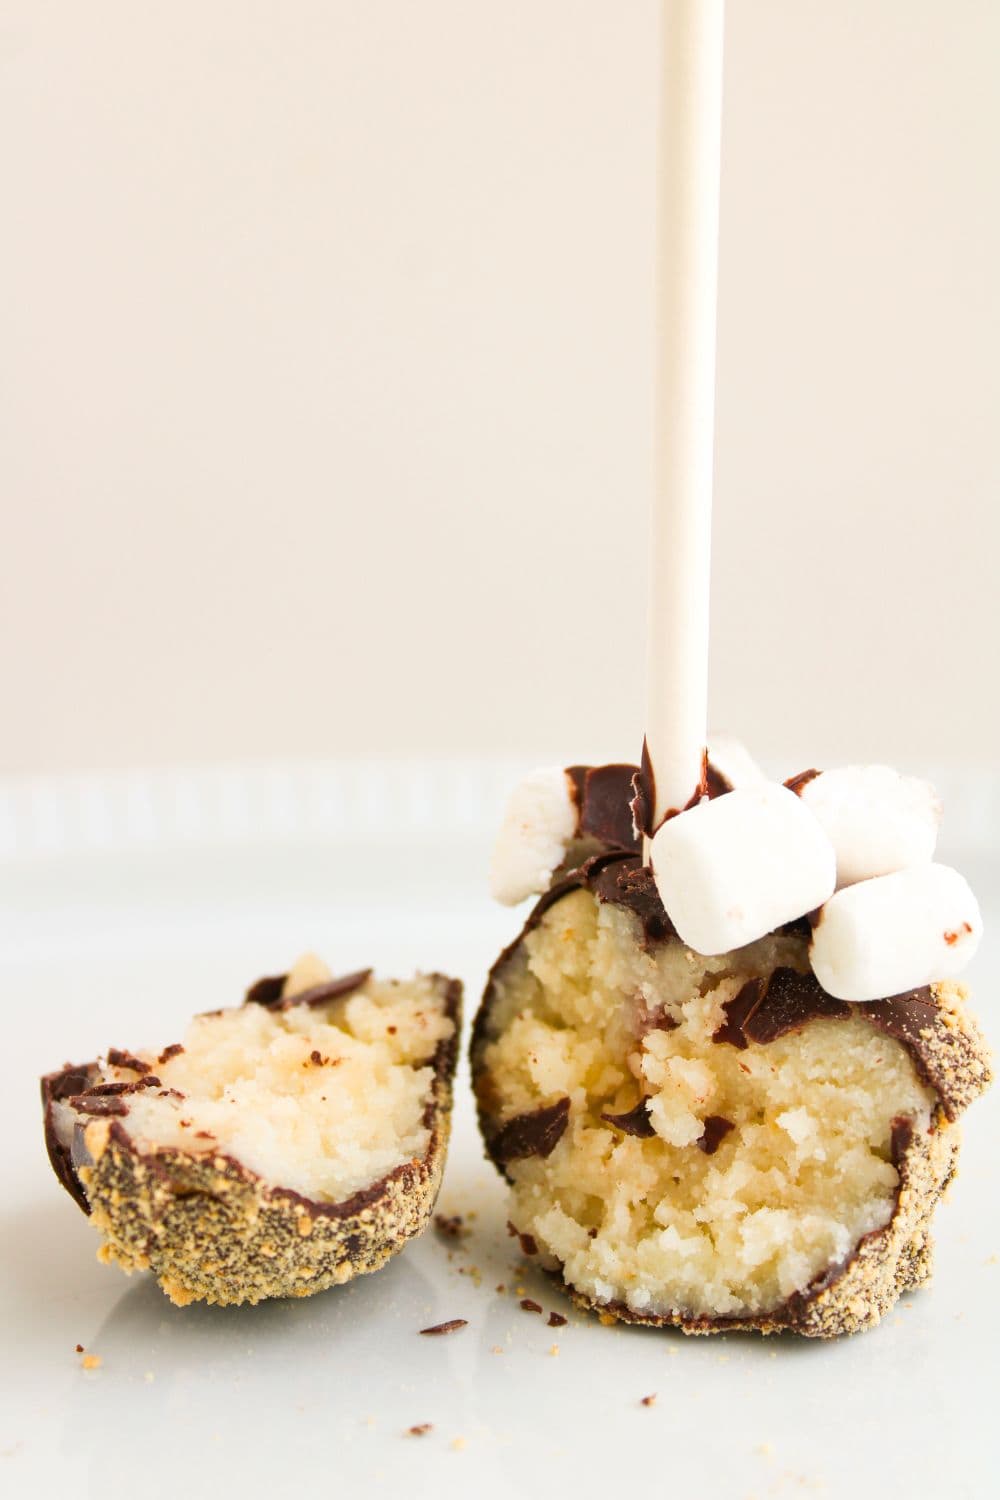
Once cooled, break the cake into small crumbs and combine with the marshmallow fluff to make a sticky mixture that holds its shape.
Tip: Bake the cake the day before making the cake pops for faster prep.
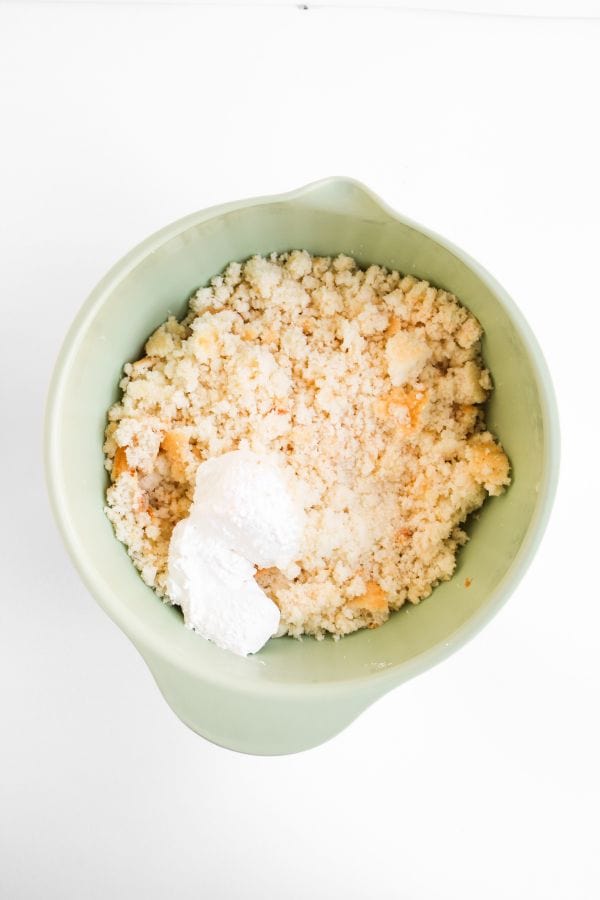
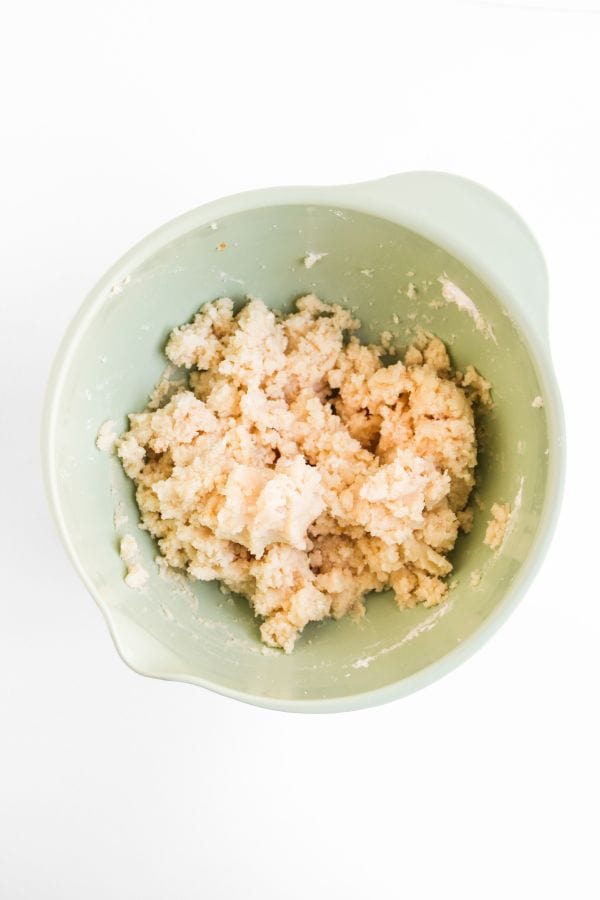
Step 2: Make the cake balls. Roll the cake mixture into small cake balls and place on a lined baking sheet. Melt a small amount of chocolate for dipping the cake pop sticks into, then insert a chocolate dipped stick into the center of each cake ball.
Place in the freezer until the cake pops and the chocolate is firm – at least 20 minutes.
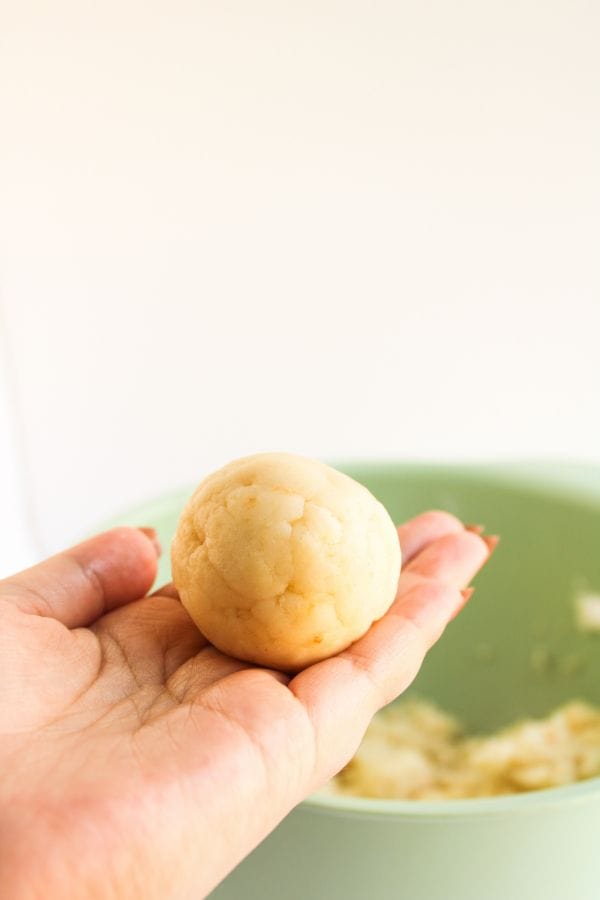
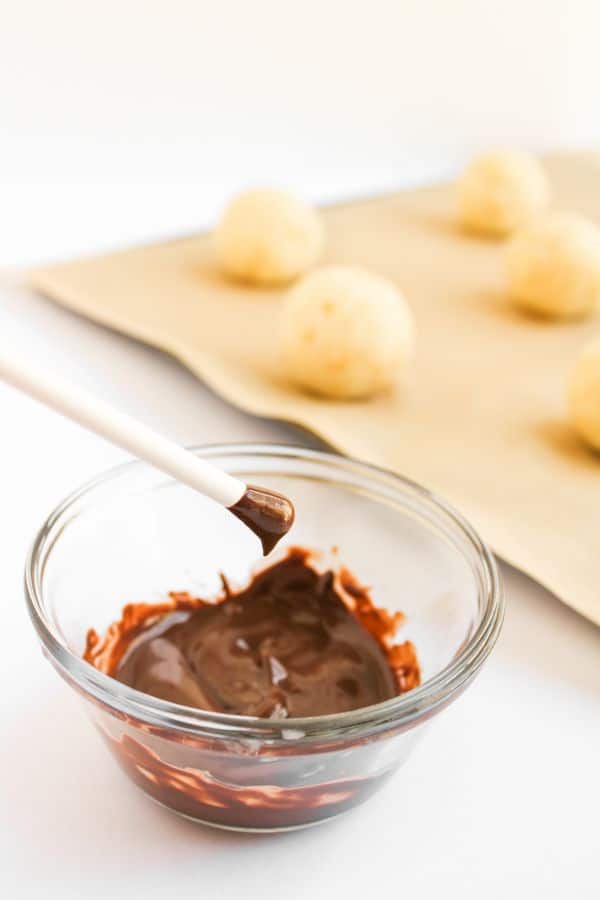
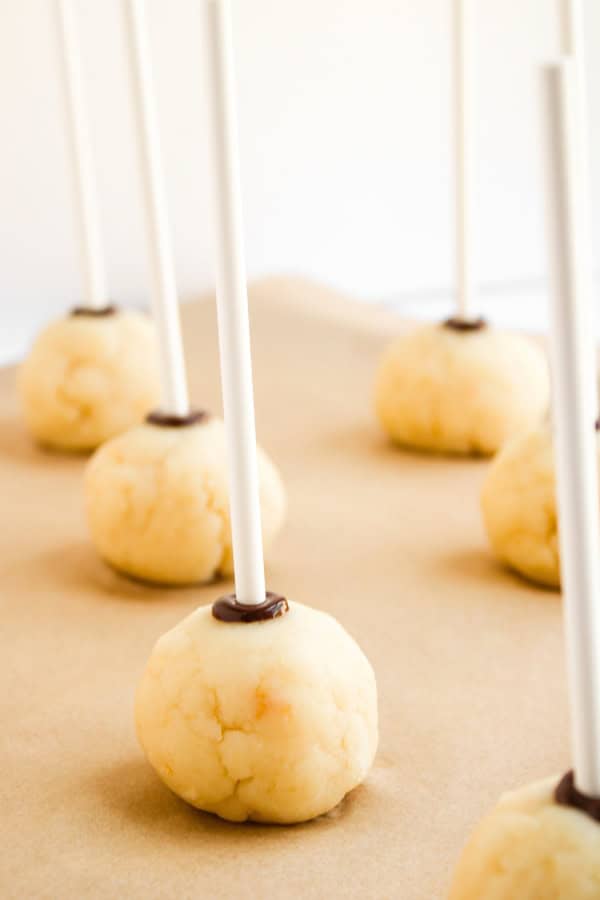
Step 3: Decorate. Crush the graham crackers into fine crumbs and melt the chocolate wafers.
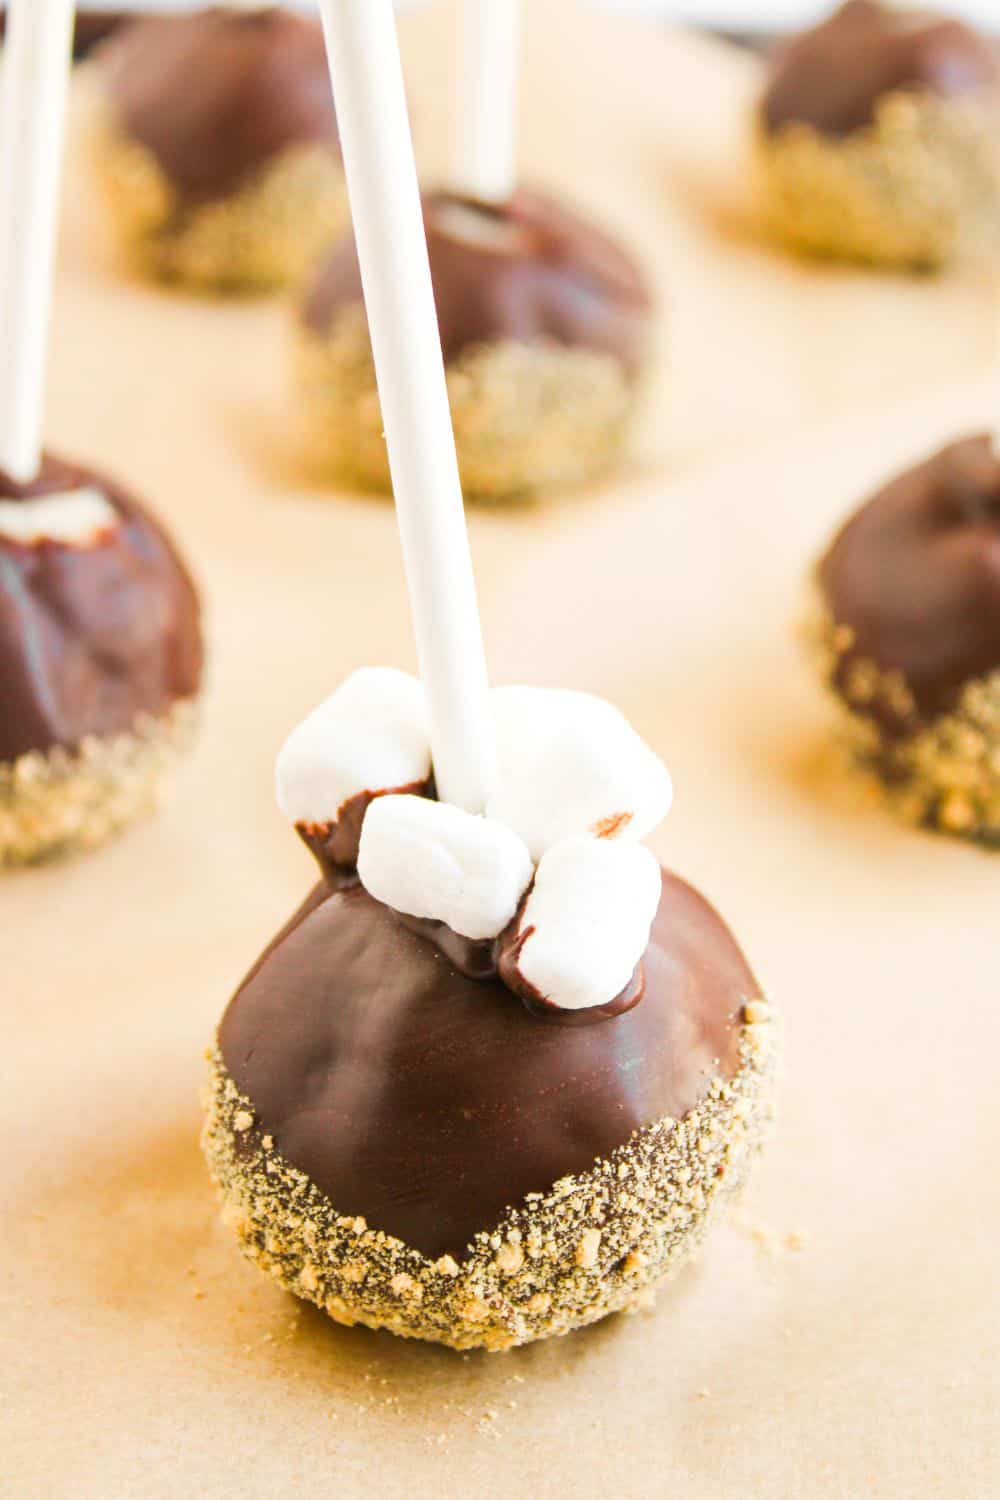
Decorate one cake ball at a time. Coat each cake ball in melted chocolate, dip into the crushed graham crackers, then add 4 or 5 marshmallows around the top.
Tip: If you can’t get the marshmallows to stay in place, dip one end of the marshmallows in the melted chocolate before adding to the cake pop.
If you have a kitchen blow torch, lightly toast the marshmallows for the classic smores flavor!
Return the decorated cake ball to the baking sheet and repeat for all the cake pops!
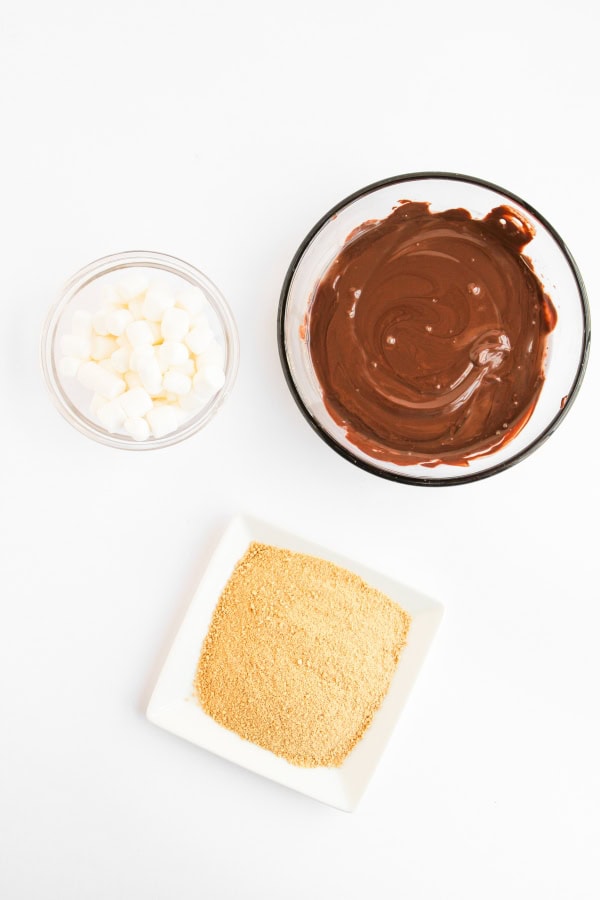
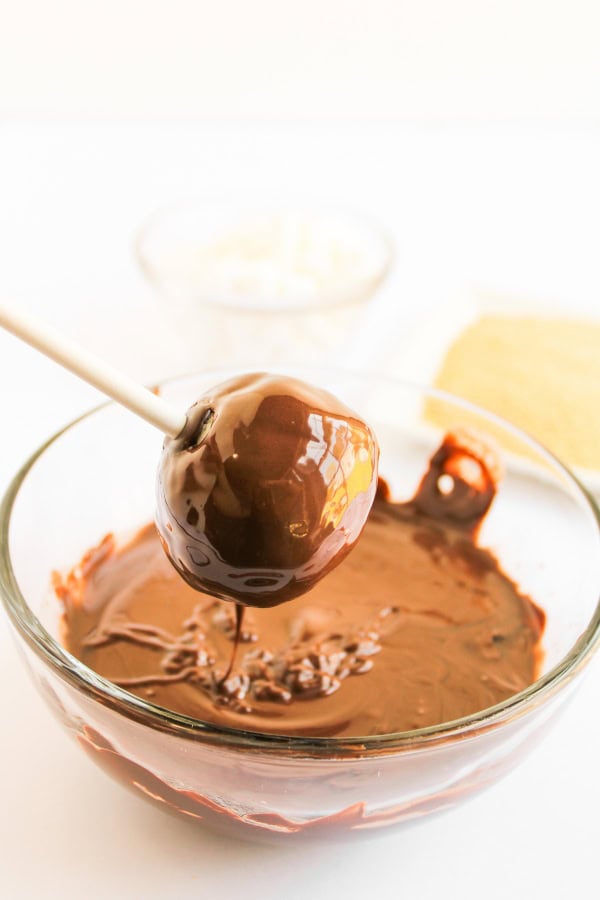
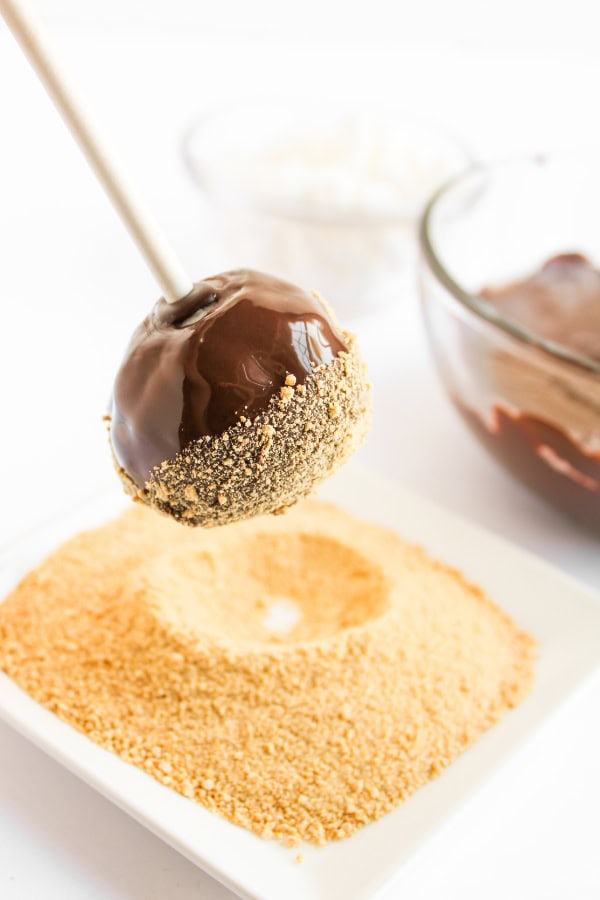
Step 4: Dry. Leave the decorated cake balls to firm up completely. If short of time, return the decorated cake balls to the freezer for 10 minutes or so to quickly firm up the chocolate coating.
Serve and enjoy.
Recipe Tips For Success
A cool cake is best: Let the cake cook completely before crumbling, to prevent the mixture being too warm and sticky. You can break the cake into larger pieces when it comes out of the oven to speed up the process, or bake it the day before.
Dip the stick in chocolate first: Before inserting the sticks into the cake balls, dip the end of the stick in chocolate. When it sets, it helps hold the cake ball and the stick together.
Decorate once cake pop at a time: You want the graham cracker crumbs and marshmallows to stick to the melted chocolate coating before it hardens, so just completely decorate one cake pop at a time.
What To Serve With Camping Cake Pops
For a camping themed party, serve these s’mores desserts alongside some campfire cupcakes, or these indoor smores.
If serving as a cookout dessert, place the cake pops alongside a bowl of fresh strawberries, raspberries, and blueberries, to create a colorful dessert spread for your guests.
And for the coffee lovers, why not try my nutella frappe, or my mocha iced coffee – both a great match for these sweet treats.
How To Store Homemade Cake Pops
Store decorated cake pops in an airtight container at room temperature for up to 5 days.
You can also freeze the decorated cake balls. Once the chocolate is completely dry, carefully place them in a container or ziplock bag and freeze for up to 1 month. Thaw overnight in the fridge before serving.
More Bite Sized Dessert Recipes
Or find more s’mores ideas in this recipe collection.
Loved this recipe? Leave a review, and join me on Facebook and Pinterest for more tasty recipe ideas.

S’mores Cake Pops
Equipment
Ingredients
- 1 box vanilla cake mix plus ingredients on box
- 1 cup marshmallow fluff
- 10 ounces milk chocolate melting wafers
- 1 tablespoon vegetable oil
- 1 pack graham crackers 9-10 sheets
- 1 cup mini marshmallows
Instructions
- Preheat the oven and bake the vanilla cake according to the package instructions. Let the cake cool completely.
- Once the cake has cooled, crumble it into small pieces in a large mixing bowl. Add the marshmallow fluff and mix thoroughly with a rubber spatula until the mixture is fully combined. The mixture should be sticky and able to hold its shape.
- Roll the cake mixture into small balls and set them on a parchment paper lined baking sheet.
- Place 1/3 cup of the chocolate wafers in a microwave safe bowl and heat in 30 second intervals until smooth. Do not overheat! Dip the tip of each cake pop stick into the melted chocolate and insert into the center of each cake ball.
- Place the cake pops in the freezer for about 20 minutes or until the cake pops are firm and the chocolate on the sticks is set.
- When ready to decorate, crush the graham crackers into fine crumbs and place in a shallow bowl. Melt the remaining chocolate wafers in the microwave in 30-second intervals until melted. Add the vegetable oil and stir to combine. It should be a smooth, runny consistency for easy dipping.
- Working with one cake pop at a time, dip the cake pop into the melted chocolate, twisting to ensure it is fully coated. Roll the bottom half of the cake pop in the graham cracker crumbs, then place mini marshmallows around the top of each dessert pop.
- Optional step: For an extra touch, you could lightly toast the marshmallows using a kitchen torch. Watch them carefully as they don't take long and they burn quickly!
- Return the cake pops to the freezer for another 10 minutes to allow the chocolate to firm completely. Serve and enjoy!
Notes
Nutrition
Nutrition information is automatically calculated, so should only be used as an approximation.