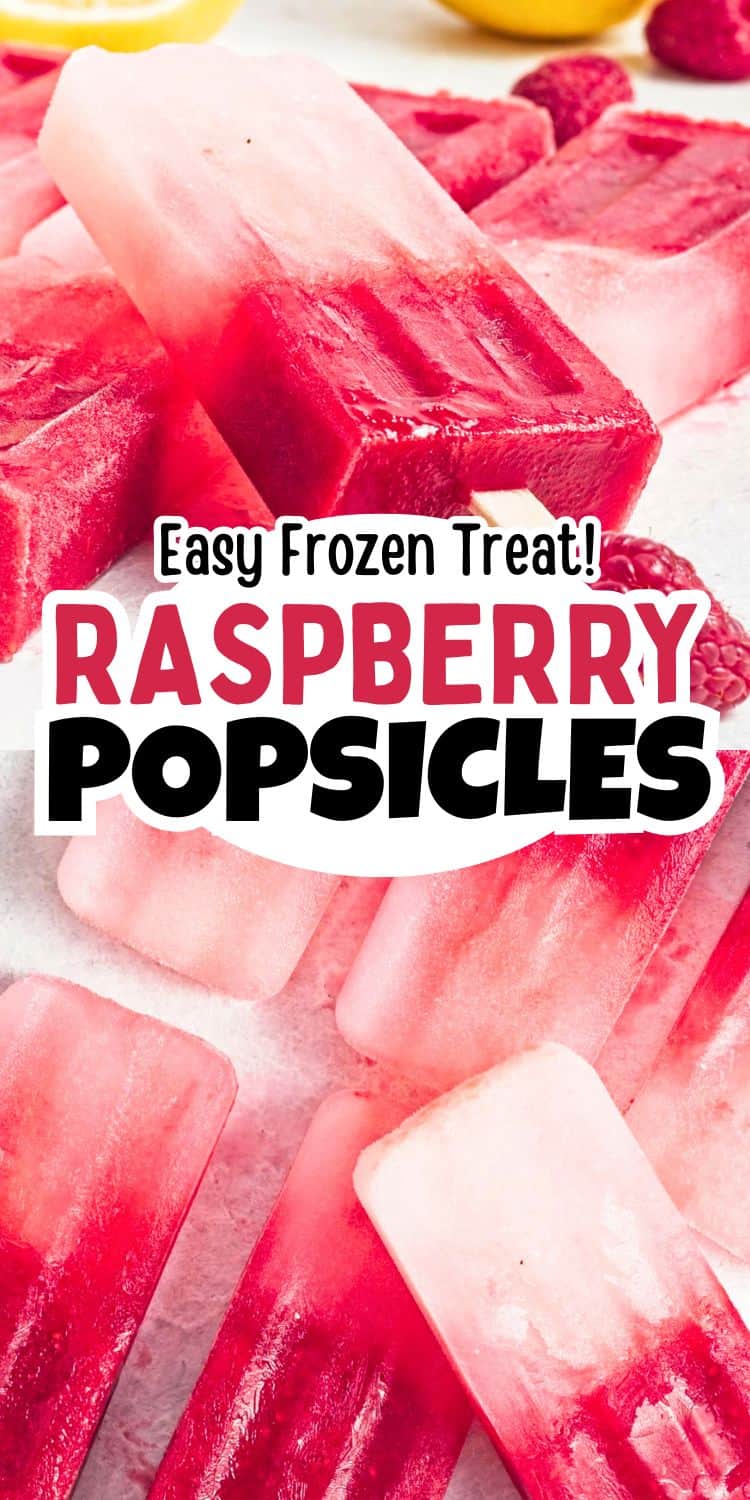
Cool off with these refreshing raspberry lemonade popsicles, the ultimate sweet-tart frozen dessert for summer afternoons and backyard celebrations.
This easy raspberry popsicle recipe combines juicy raspberries with a few pantry ingredients to create one of the most vibrant fruit popsicles you’ll want to make all summer long.
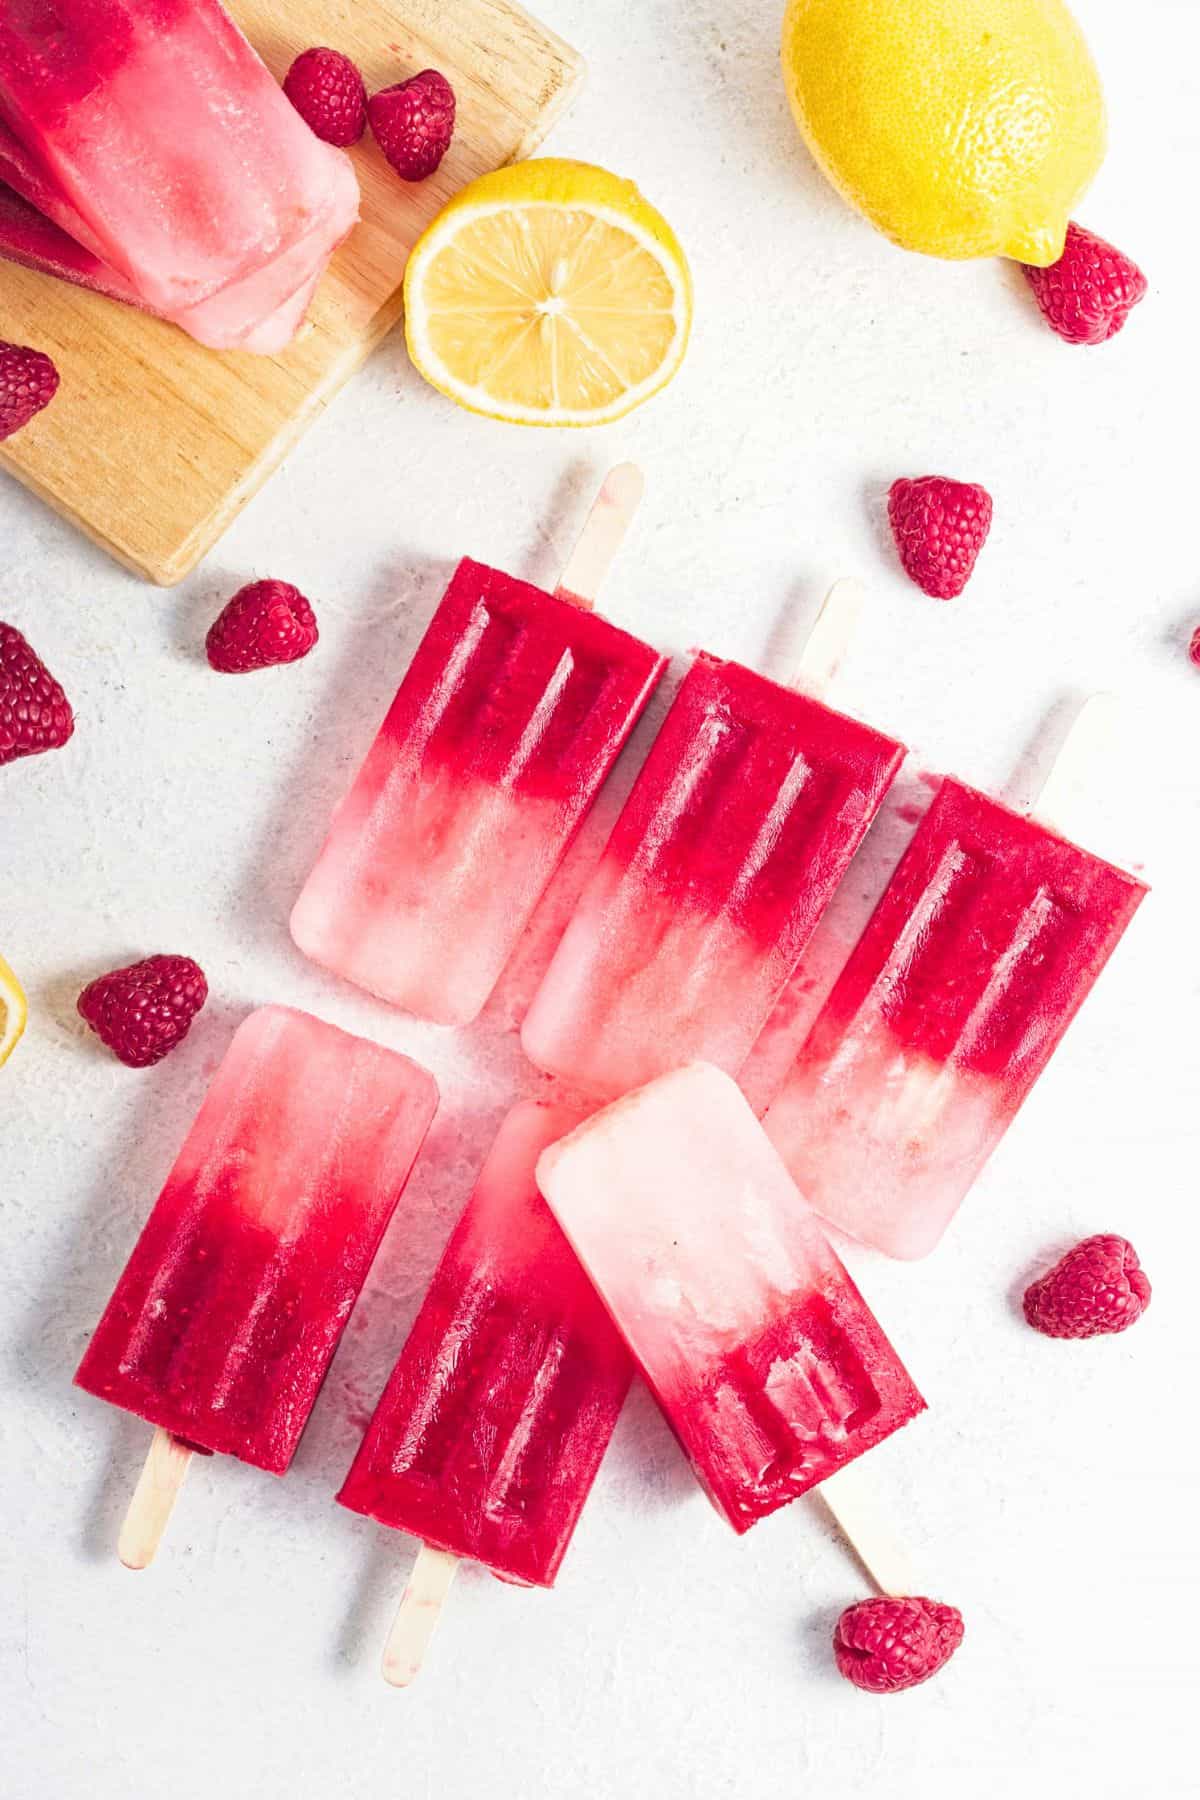
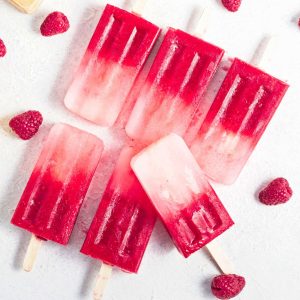
With minimal prep time, these easy homemade popsicles are perfect for when you need easy frozen treats everyone will love. The swirled layers of bright raspberry puree and tangy lemonade create a yummy sweet snack that tastes just as good as it looks.
Whether you’re searching for fun summer snack ideas, pool party treats, healthier frozen treats for the kids, or a simple way to use fresh or frozen raspberries, these raspberry lemonade popsicles are guaranteed to become a family favorite this Summer.
If you love frozen desserts, you may also like these blackberry popsicles, or these gourmet key lime pie popsicles.
Why You’ll Love This Raspberry Lemonade Popsicles Recipe
- Just 4 ingredients: These raspberry ice pops are made with just a handful of simple ingredients, making them an easy homemade frozen treat for busy summer days.
- Refreshingly tart: The sweet raspberry flavor paired with tart lemonade creates a refreshing balance that makes these summer popsicles perfect for cooling off on hot afternoons or serving at outdoor summer parties.
- Festive treat: These red popsicles are incredibly versatile easy to make ahead for festive celebrations such as 4th of July parties, birthday parties, color parties and more!
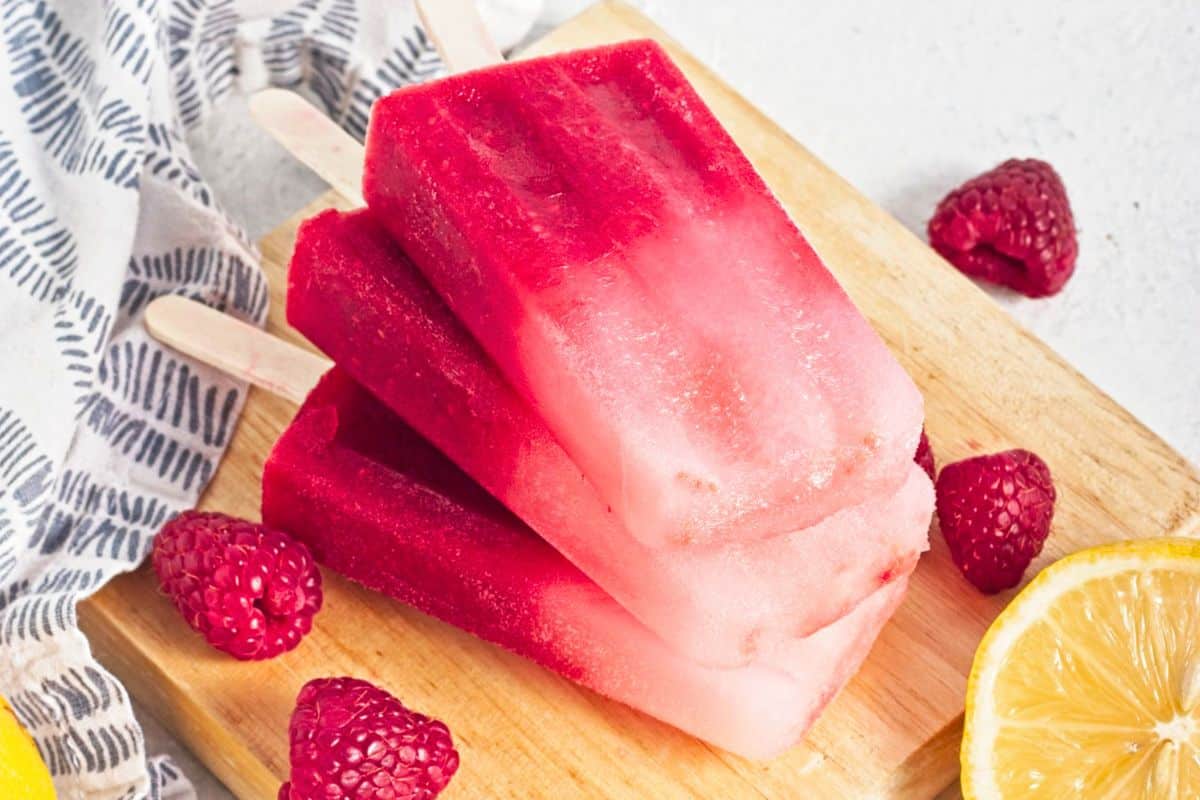
Ingredients
To make these berry popsicles you’ll need the following ingredients. You can find the specific quantities and steps in the recipe card below.
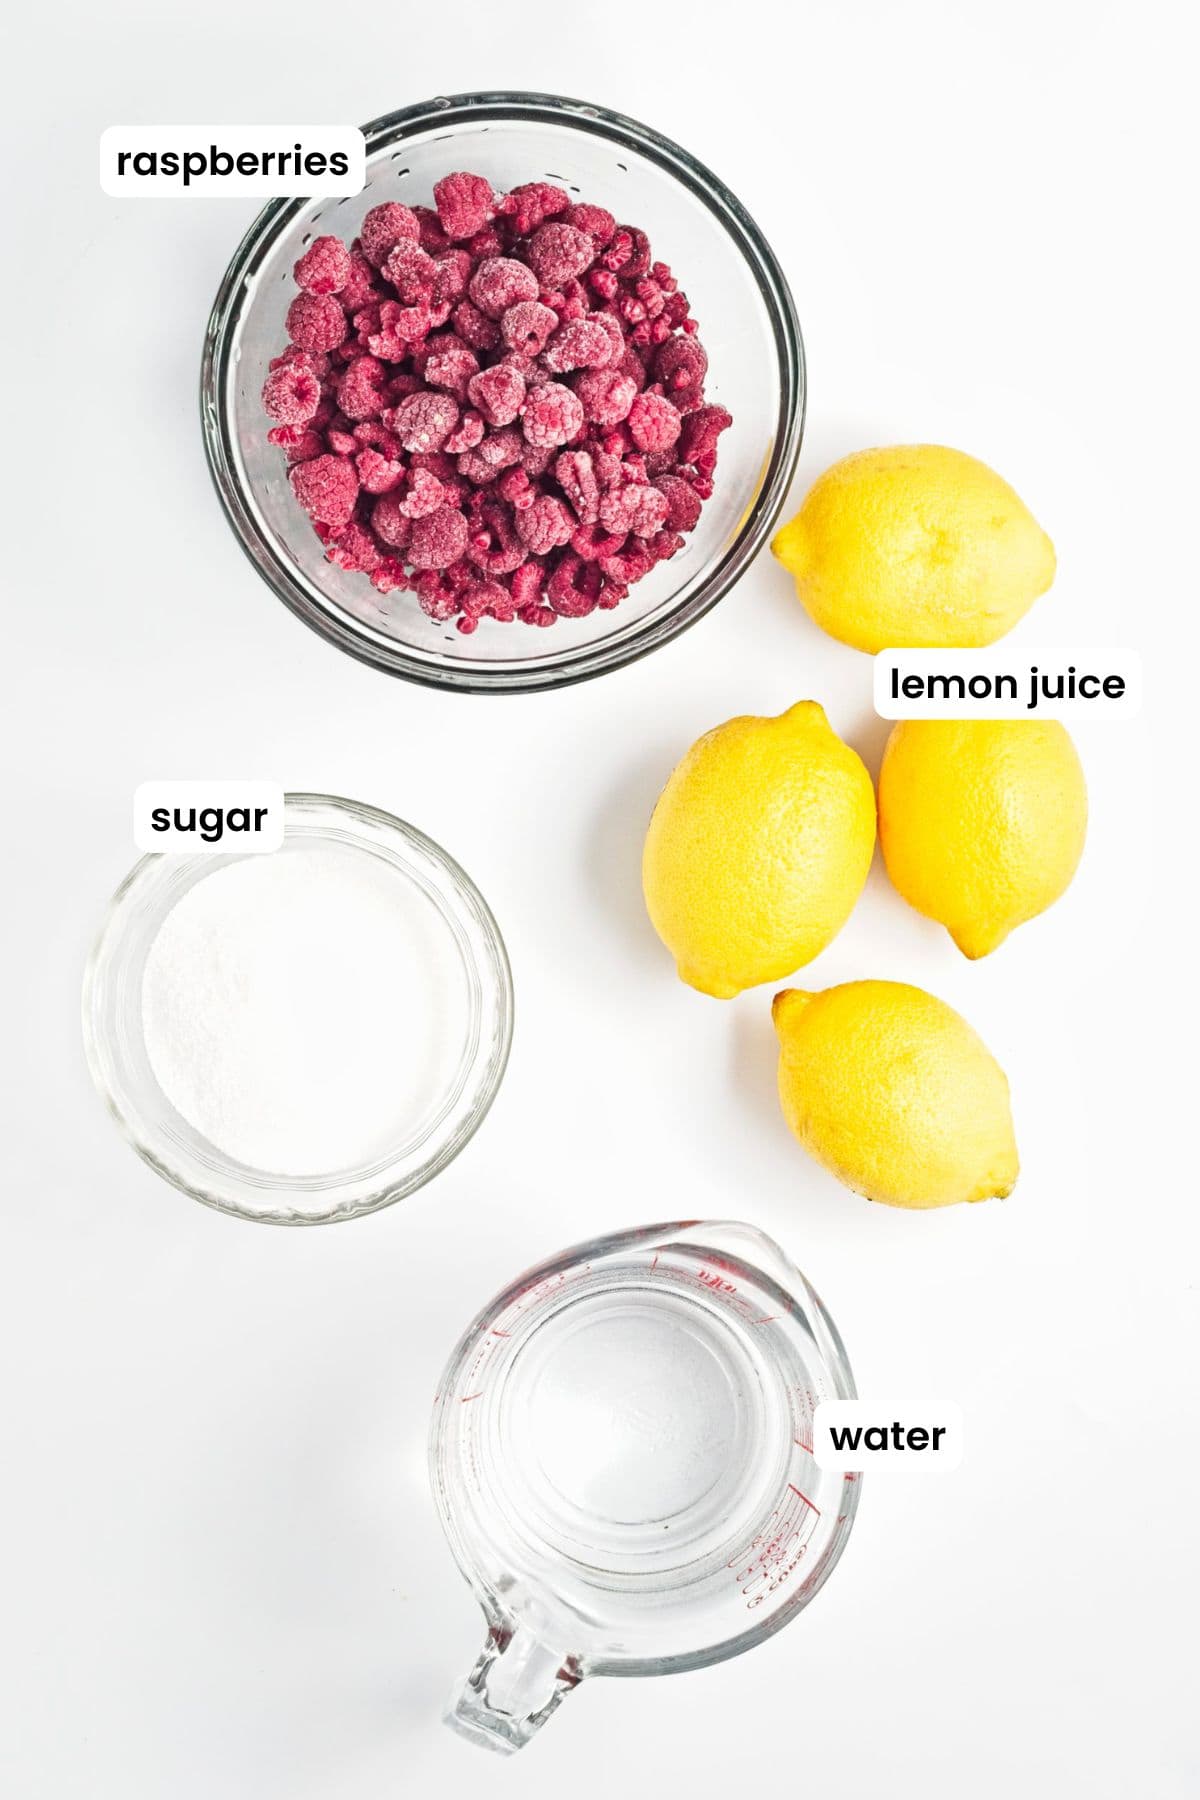
- Raspberries: Use fresh berries when in season, or frozen raspberries when they are out of season.
- Lemon juice: Freshly squeezed lemon juice is the best choice for this recipe because of the minimal ingredients. Preserved lemon juice will not be as bright and acidic and may have less lemon flavor.
- Sugar: I recommend using granulated sugar. Artificial sweeteners will change the texture of the popsicles, making them icier and harder.
- Water
How To Make Raspberry Popsicles
Here’s a quick overview of how to make raspberry lemonade popsicles at home. For the full recipe details, including ingredients and measurements needed, scroll down to the printable recipe card below.
You will need a large measuring jug with spout, a blender and popsicle molds (with sticks) to get started.
Step 1: Combine the lemonade ingredients in a bowl and stir until the sugar has dissolved.
Add the raspberries and 1 cup of the lemonade to a blender and blend the raspberries until smooth.
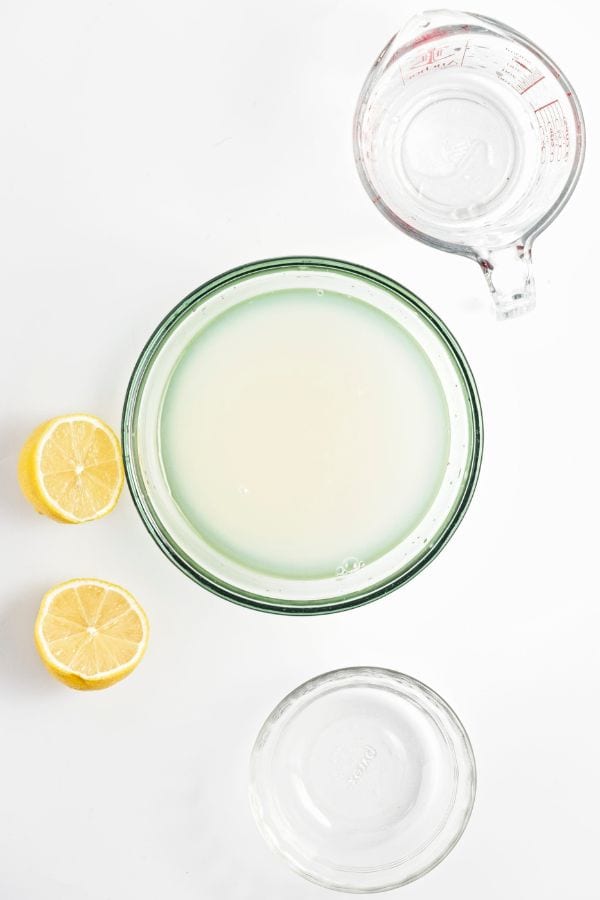
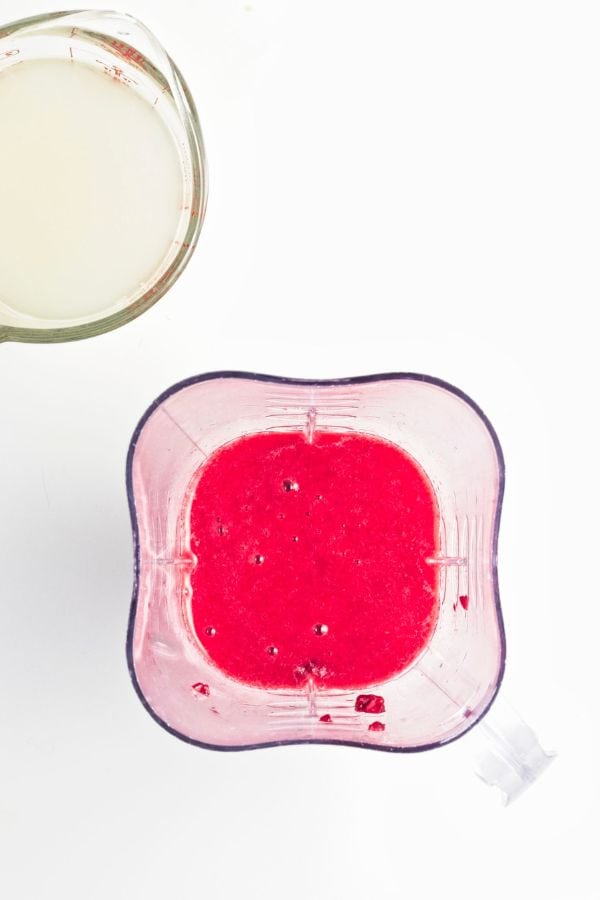
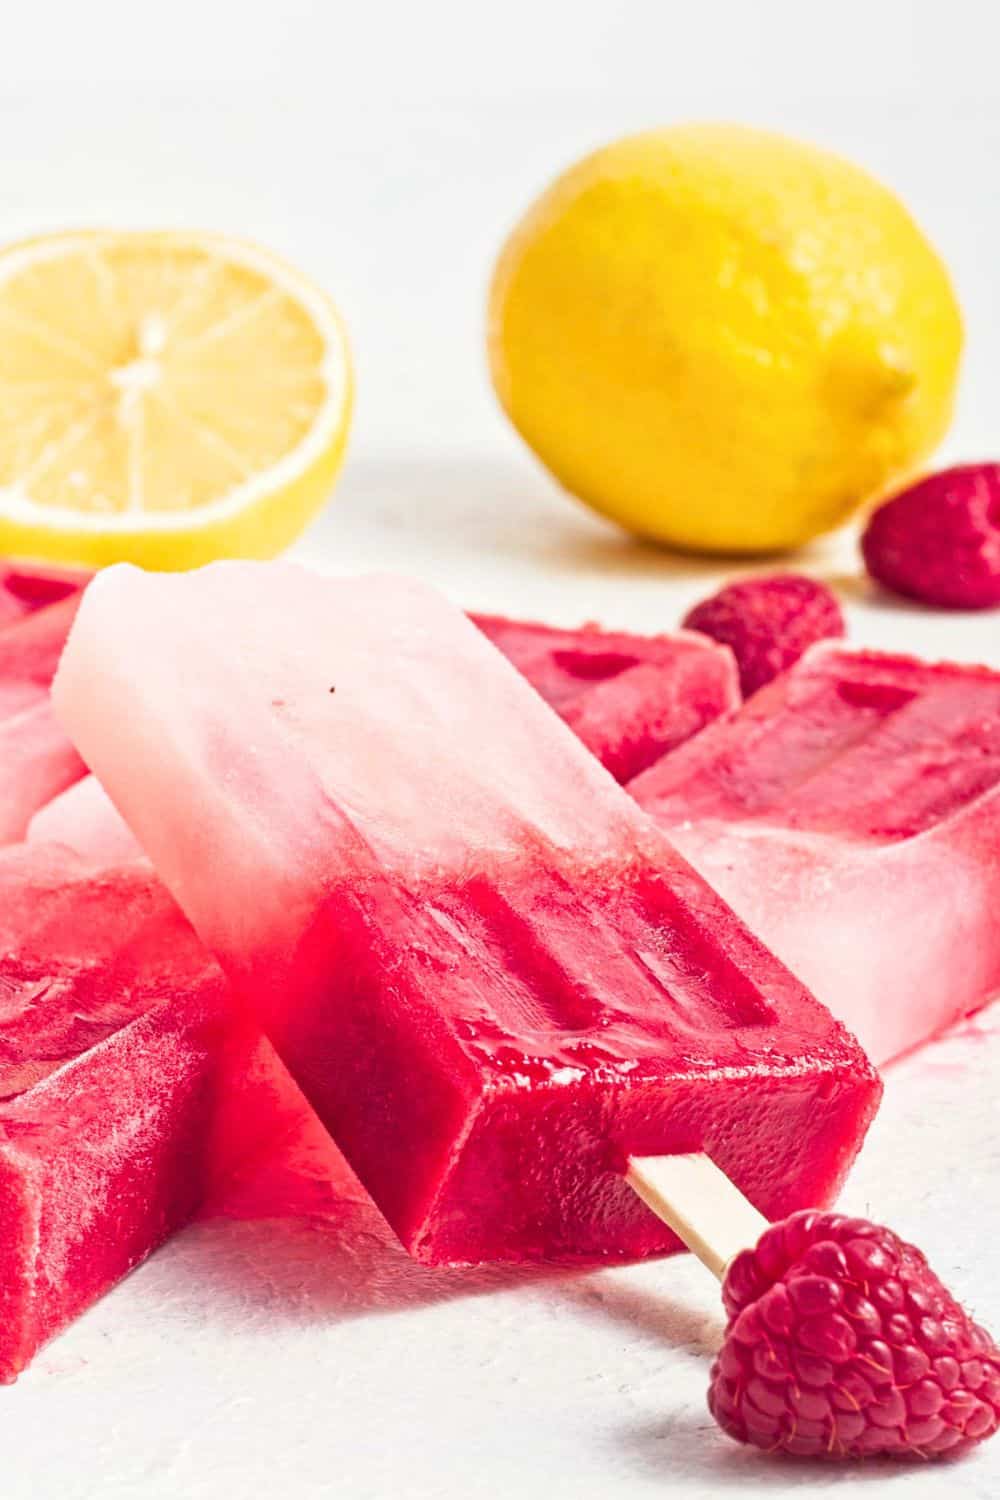
Option: You can make these popsicles with distinct layers, swirled (as explained below) or blended all together for a bright red popsicle.
Step 2: Divide the remaining lemonade mixture between your popsicle molds then top with the raspberry puree.
Use a knife or chopstick to swirl the two layers together.
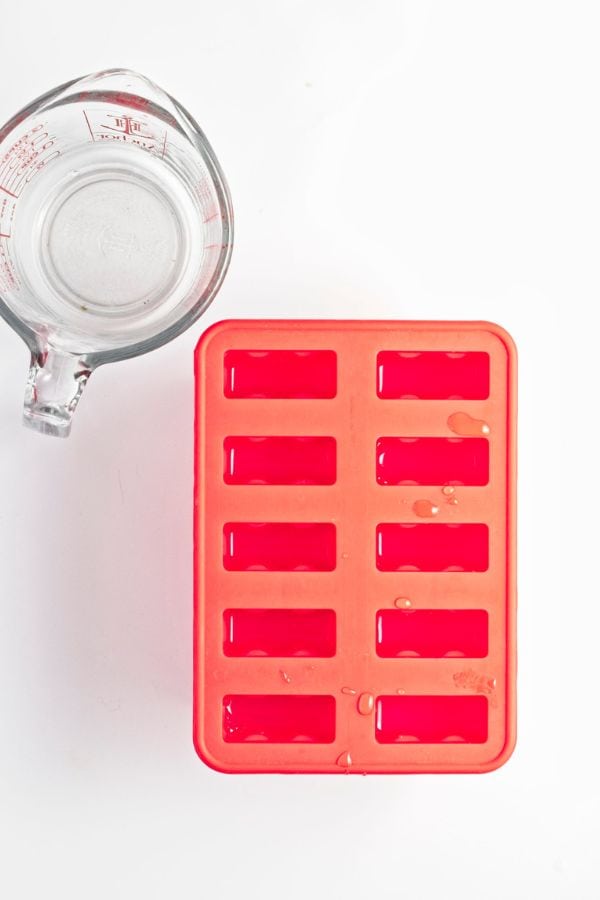
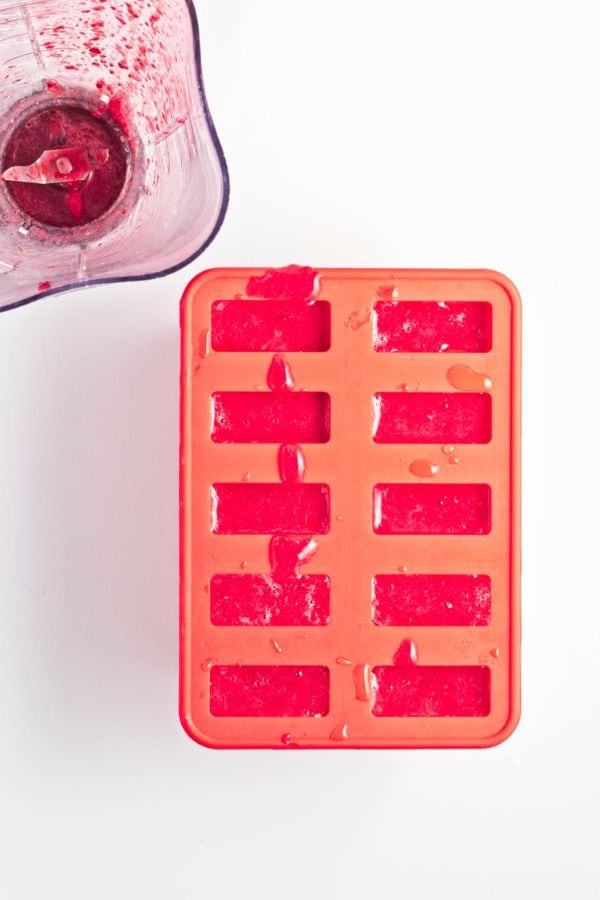
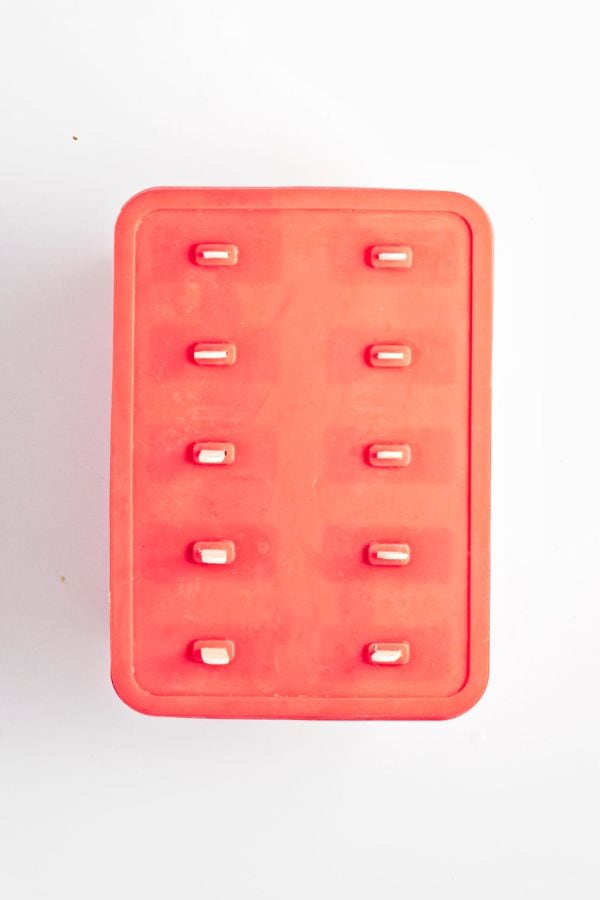
Step 3: Place the lid on your molds and insert the popsicle sticks into the lid. If you don’t have a lid, cover the molds with a layer of foil or plastic wrap, slice a small hole in the wrap for each popsicle, then insert the stick through to stay in place.
Freeze for at least 6 hours, preferably overnight, until firm.
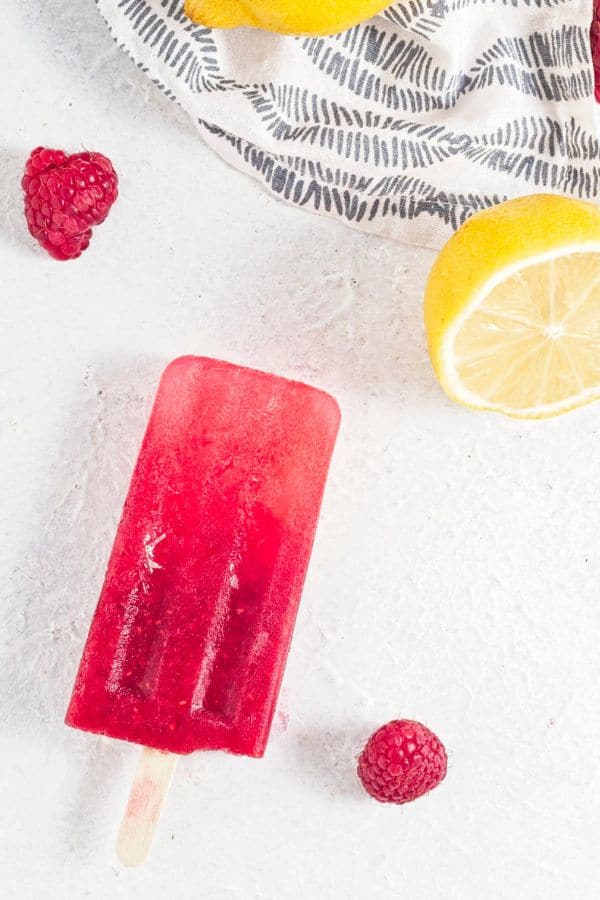
When ready to serve, ease the fruit ice pops out of the mold and enjoy!
Recipe Tips For Success
No grit: Stir the sugar thoroughly into the water and lemon juice until it’s completely dissolved so the popsicles freeze smooth without a gritty texture.
Mold filling tips: Leave a small gap at the top of each mold (about ¼ inch / 6 mm) to allow for expansion as the popsicles freeze.
Removing from molds: If your popsicles are hard to remove, briefly run the mold under warm water for about 10 seconds to loosen them without melting the pops.
Serving Suggestions
Pair this frozen raspberry dessert with a tall glass of iced green tea or sparkling water with fresh mint for an extra-refreshing summer combo that keeps things light and hydrating.
These red popsicles are perfect for patriotic party desserts, Summer pool parties or a casual cookout with friends. To serve, fill a large serving bowl with ice, unmold the popsicles and place the berry ice pops on top of the ice. Serve immediately.
They are also perfect for the kids as after school snacks. Store the popsicles individually in the freezer so they can help themselves.
How To Store Fruit Popsicles
Leftover popsicles can be stored in the popsicle mold in the freezer.
Alternatively, you can remove all popsicles from the mold and place in individual sealed popsicle bags or simply wrap each popsicle in plastic wrap before returning to the freezer.
Store popsicles in the freezer for up to 1 month.
More Frozen Dessert Recipes
- This coffee granita is a great summer dessert idea.
- These red white and blue popsicles are a fun holiday treat.
- Adults will adore these mocha almond popsicles.
Loved this recipe? Leave a review, and join me on Facebook and Pinterest for more tasty recipe ideas.
Raspberry Lemonade Popsicles
Equipment
Ingredients
- 1¾ cups water
- ½ cup lemon juice freshly squeezed
- ½ cup granulated sugar
- 2 cups raspberries fresh or frozen
Instructions
- Combine water, lemon juice, and sugar in a marge measuring jug with a spout. Stir until sugar is dissolved.
- Add the raspberries to a blender with 1 cup of the lemonade mixture. Blend until smooth (see note 1 for alternatives).
- Divide the pure lemonade mixture between the molds evenly. Top each mold with the raspberry puree mixture, leaving a small gap at the top of each mold to allow for expansion during freezing.
- Use a knife or chopstick to swirl the two mixtures together in each mold.
- Add a popsicle stick to each mold and freeze for at least 6 hours, or overnight (see note 2).
- Remove the popsicles from the molds and enjoy (see note 3 for removal tips).
Notes
- For a solid red popsicle, blend the raspberries with all of the lemonade mixture.
- If you have a lid for your molds, place it on before sticking the popsicle sticks in. If your molds don’t have a lid, cover with a couple of layers of plastic wrap or foil and press the sticks through to hold the sticks in place.
- Remove from the molds by gently putting pressure on the base while lifting by the stick. If using a metal or plastic mold, dip the tips in hot water for 10 seconds before trying to remove.
Nutrition
Nutrition information is automatically calculated, so should only be used as an approximation.
Pin for later!