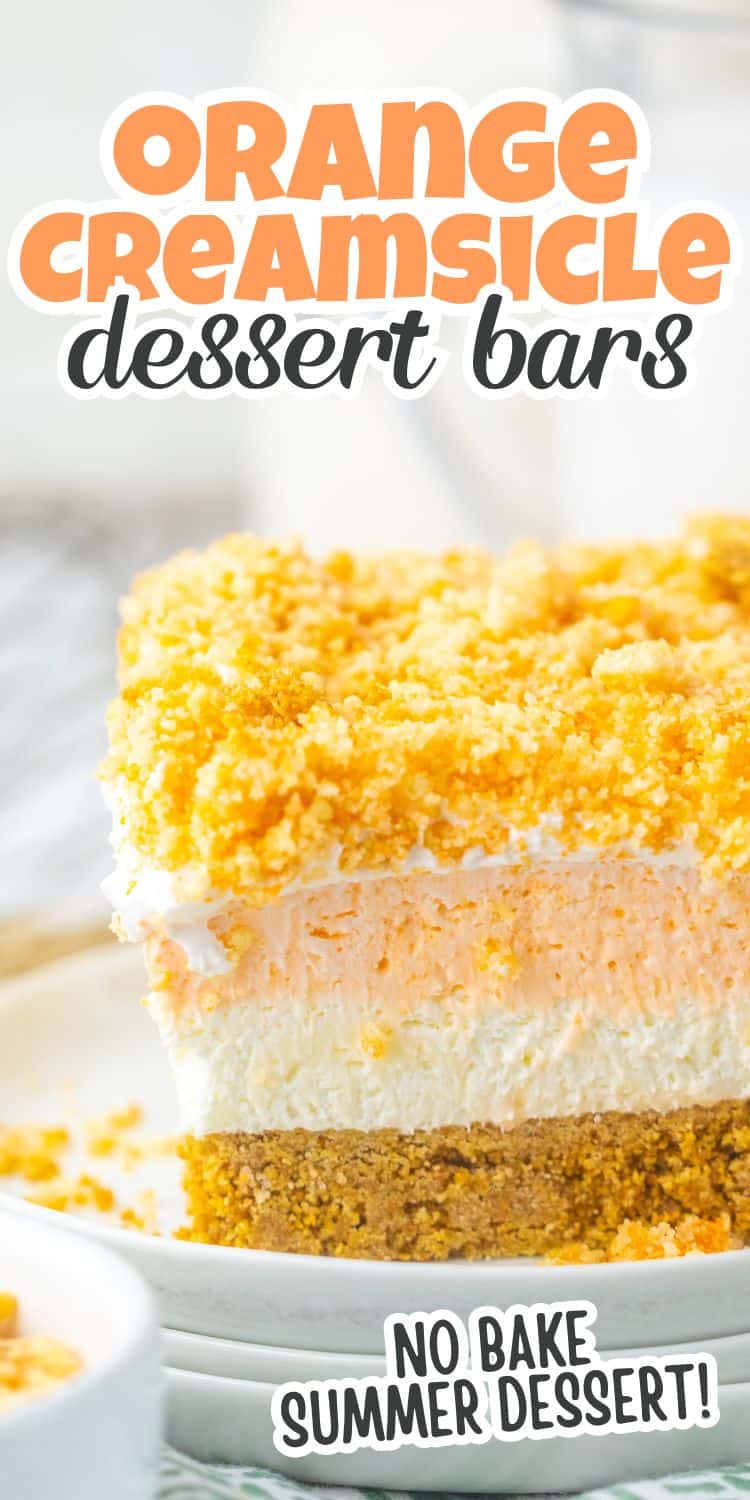
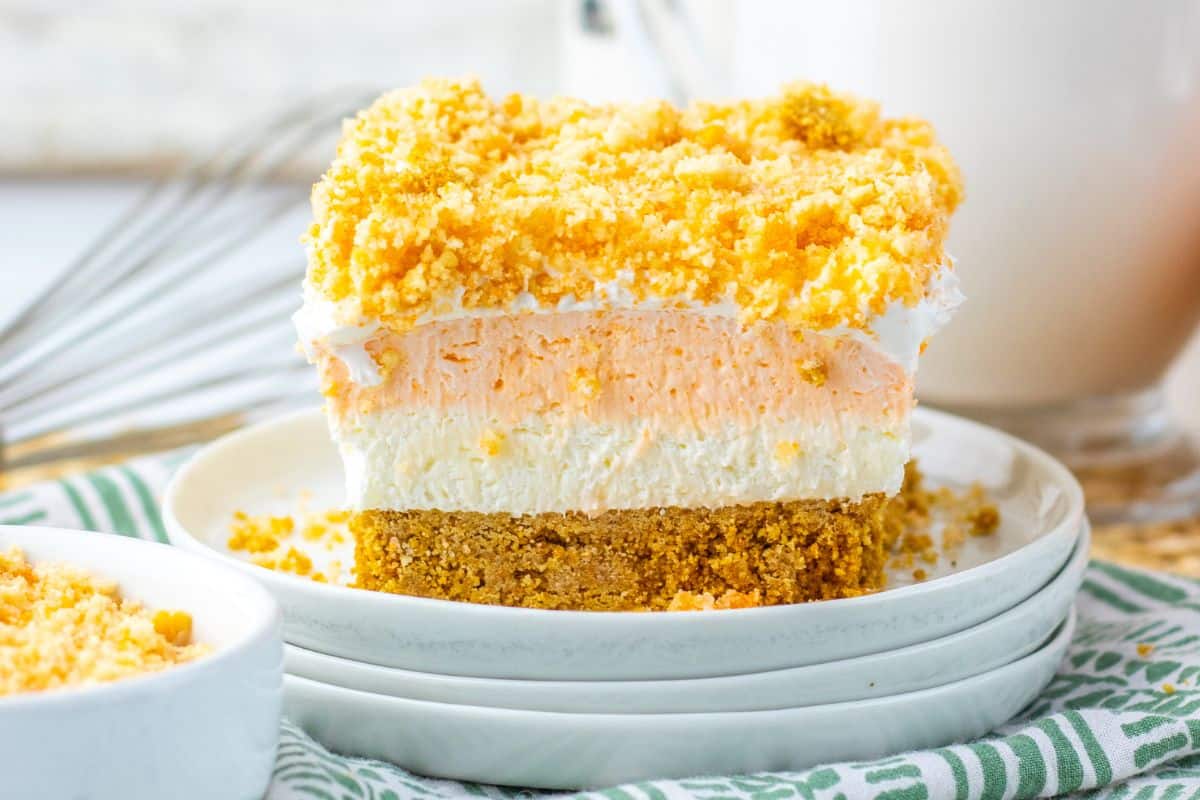
If you’re craving something sweet, creamy, and bursting with citrus flavor, these orange creamsicle bars are about to become your new summer obsession. Inspired by nostalgic popsicle flavors, this dessert bar recipe transforms the classic creamsicle snack into one of the easiest no bake summer desserts you’ll ever make.
Whether you’re browsing for creamsicle dessert ideas for a Summer party, fun jello desserts for a potluck, or need a quick make-ahead treat for a Summer cookout, these Orange Creamsicle Crunch Bars check every box – minimal prep, zero baking, and maximum flavor.
Why You’ll Love This Orange Creamsicle Bars Recipe
Minimal prep: These orange creamsicle dessert bars come together with minimal prep and zero oven time, making them perfect for busy days or when you need quick no bake desserts.
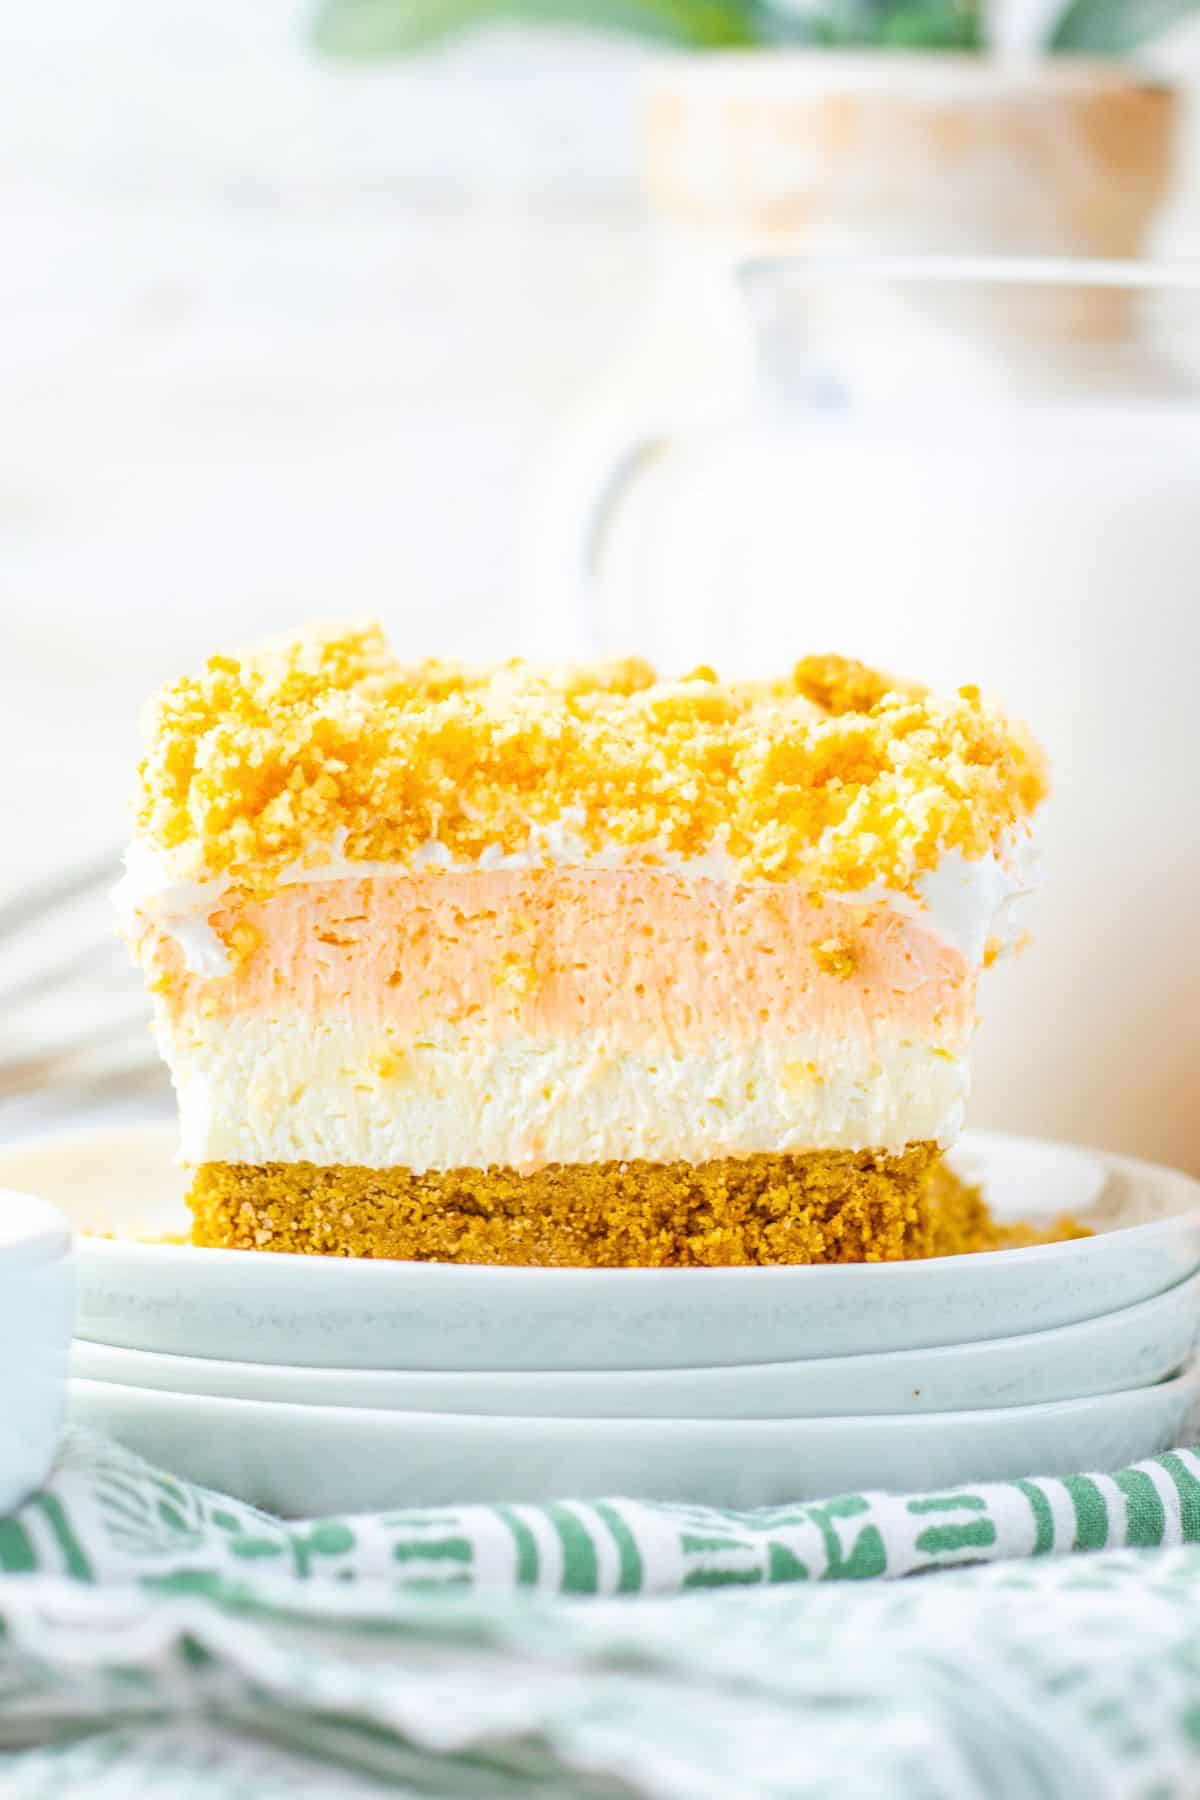
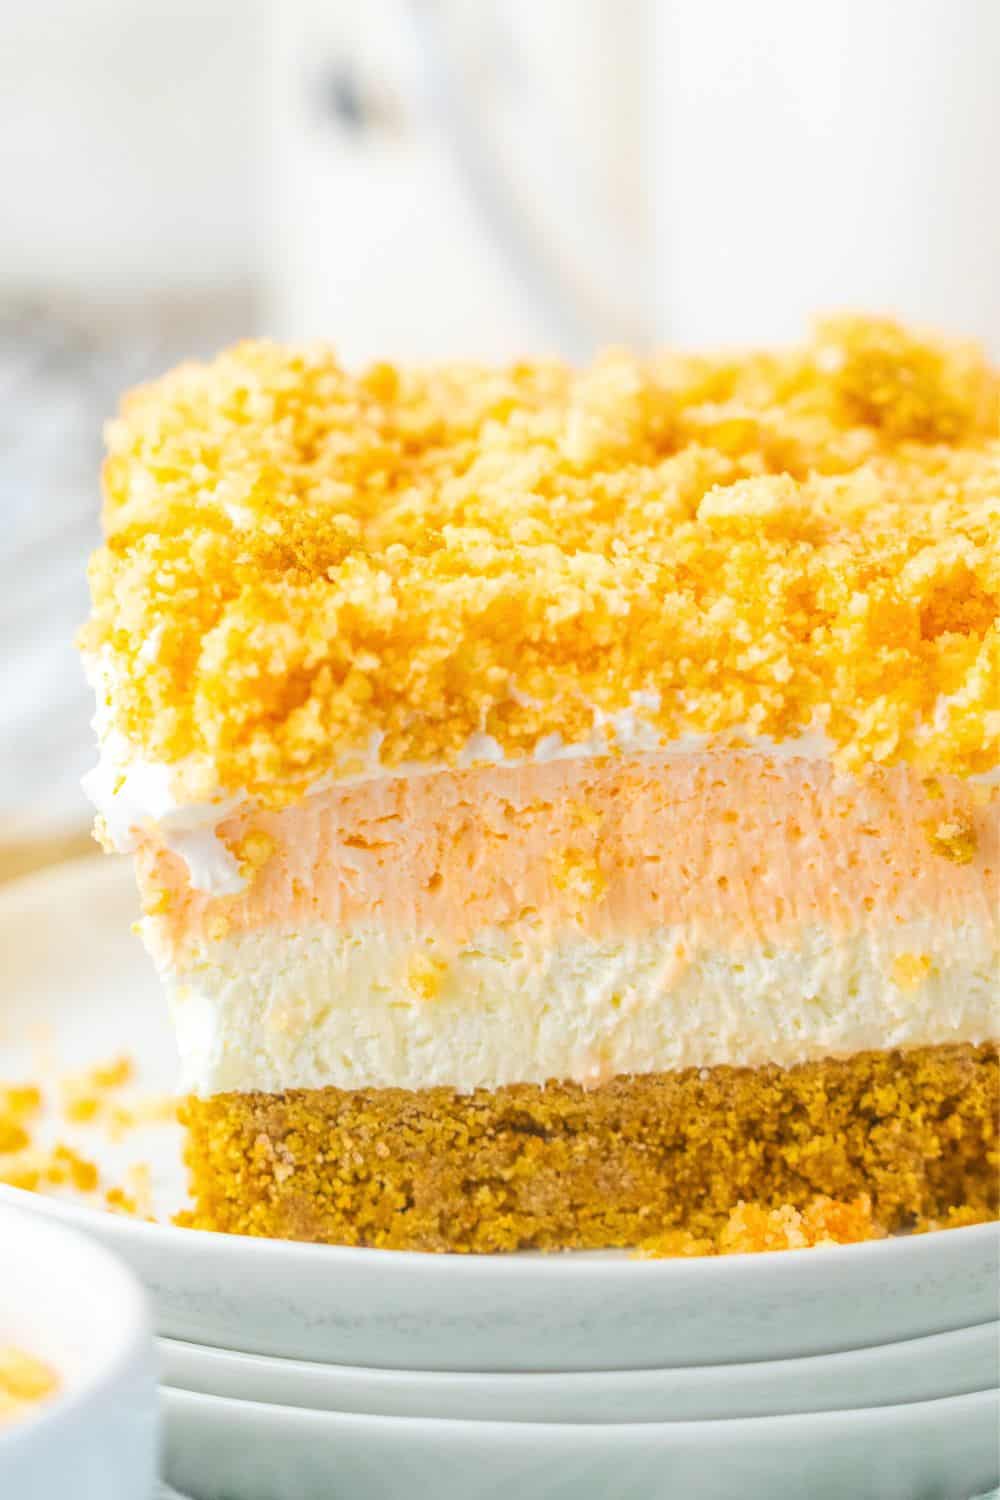
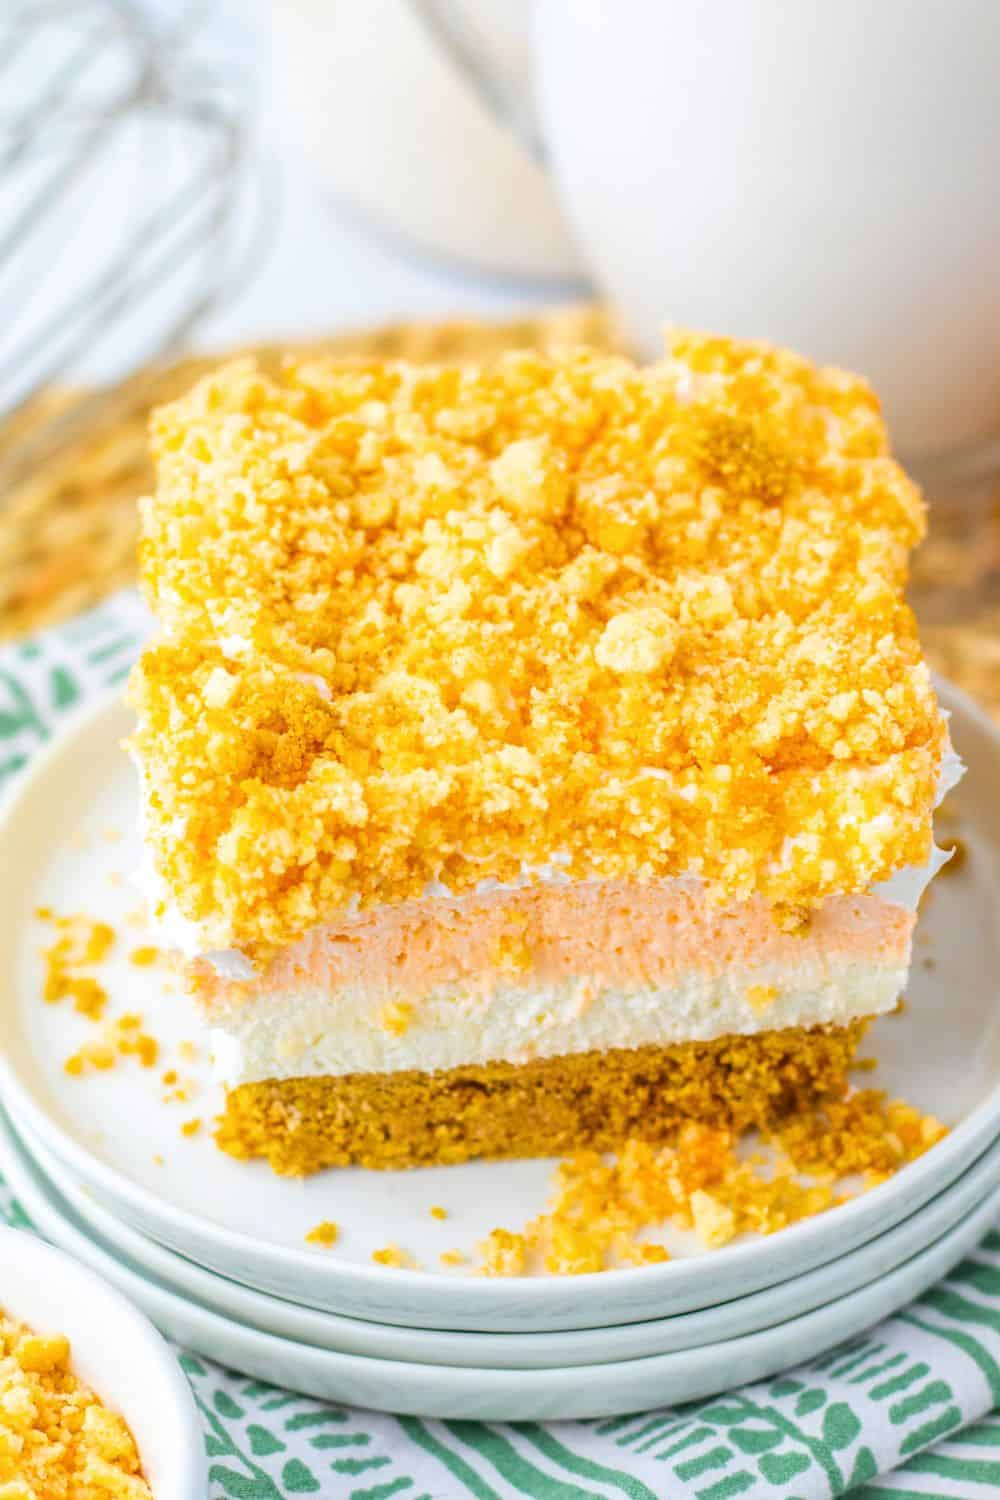
Perfect creamy-crunchy combo: Each bite delivers a smooth, fluffy orange cream cheese layer paired with a buttery graham cracker crust and a crunchy cookie topping. That combination of textures makes these creamsicle cheesecake bars seriously satisfying.
Yummy nostalgic flavors: These bars capture that classic creamsicle taste with real orange juice and orange jello, creating a sweet, tangy, and refreshing dessert. It’s a fun twist on orange dessert recipes that feels both nostalgic and perfect for summer.
If you love to make dessert bars, you may also like these lemon raspberry bars, or these key lime pie dessert bars.
Ingredients
To make these orange dreamsicle dessert bars you’ll need the following ingredients. I cover a few of the key ingredients here, you can find the specific quantities and steps in the recipe card below.
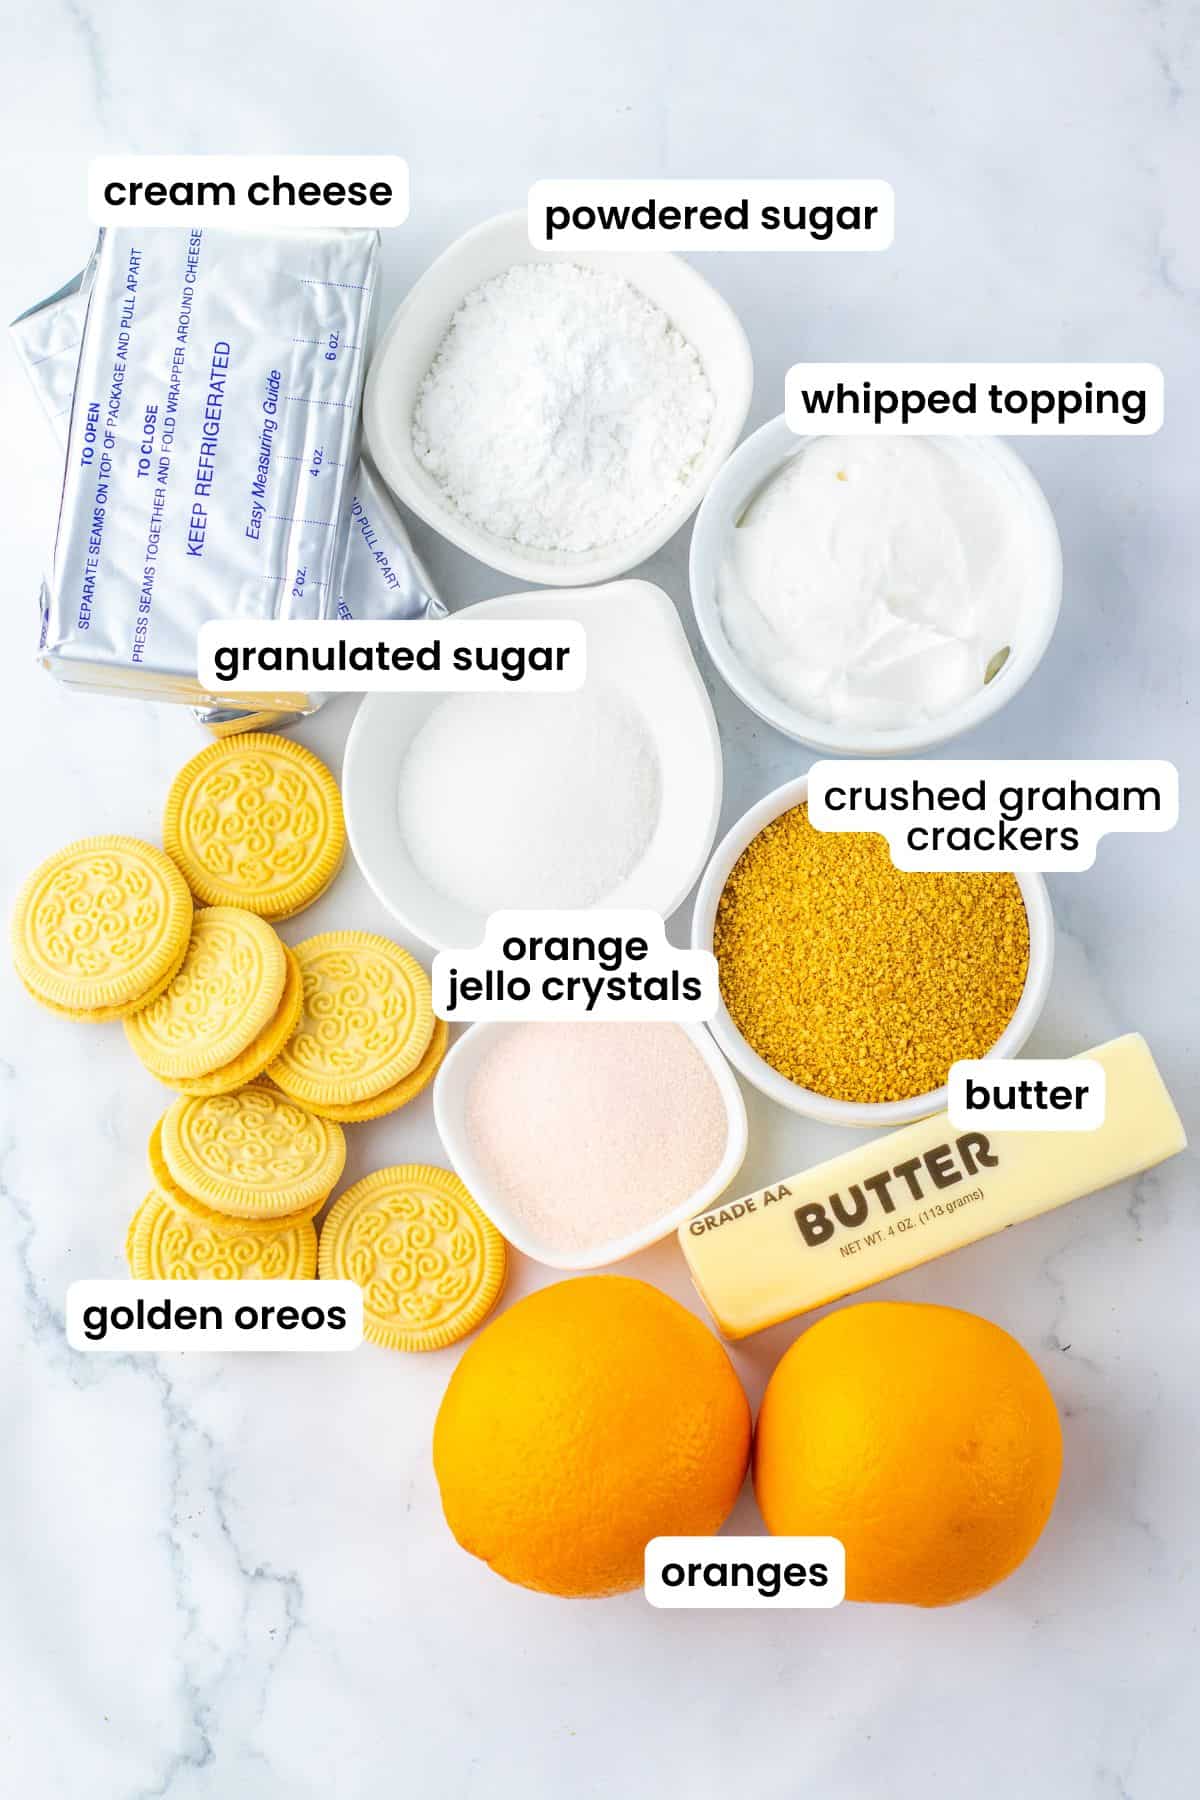
- Orange jello: The orange gelatin crystals are added to both the filling and topping for a tangy orange flavor. Do not follow the instructions on the box to make Jello – we just need the crystals.
- Graham Cracker crumbs: You can buy crumbs in bulk, or crush whole graham crackers in a food processor.
- Golden Oreos: Used for the crunchy topping, any vanilla cookie is suitable, but I like to use oreos.
- Whipped topping: Helps stablilize the cream cheese filling.
- Orange juice: I use freshly squeezed juice from oranges, but you can also use bottled orange juice.
- Sugar: Powdered and granulated sugar are used to sweeten the crust and the filling.
- Cream cheese: Use the cream cheese blocks, not whipped or spreadable cream cheese, for this recipe. Gives the dessert bars a cheesecake like flavor.
- Butter: Used to coat both the graham cracker crust and the crunchy oreo topping.
How To Make Orange Creamsicle Dessert Bars
Here’s a quick overview of how to make this orange creamsicle dessert recipe. For the full recipe details, including ingredients and measurements needed, scroll down to the printable recipe card below.
You will need an 8×8″ pan, hand or stand mixer, and a few large bowls to get started.
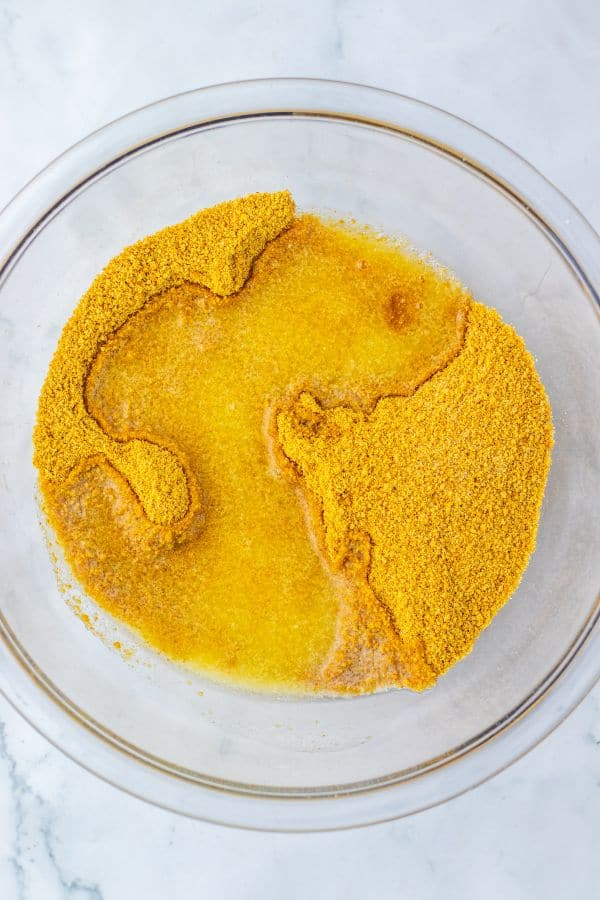
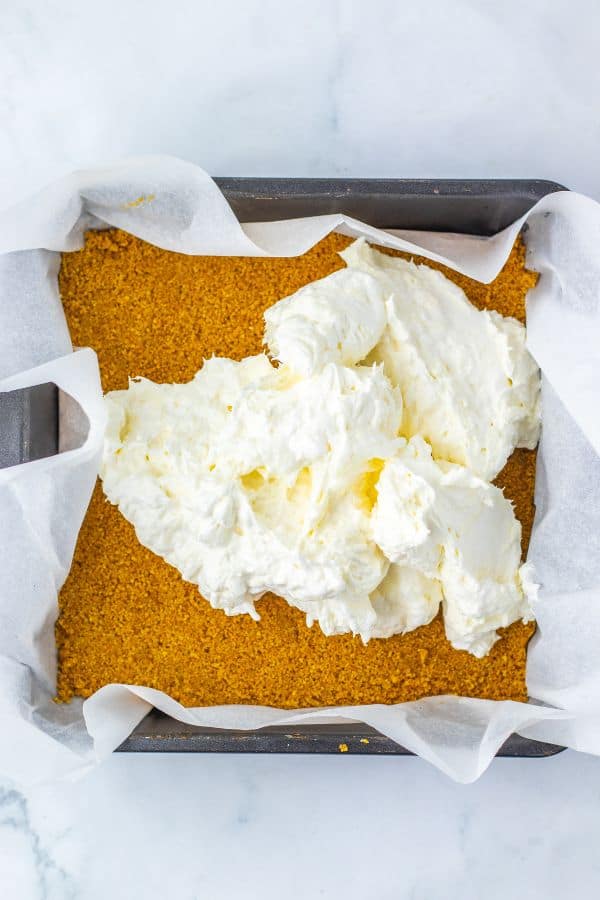
Prepare the crust: Combine the crust ingredients in a large bowl and press into a lined pan. Put the pan in the fridge while you prepare the filling.
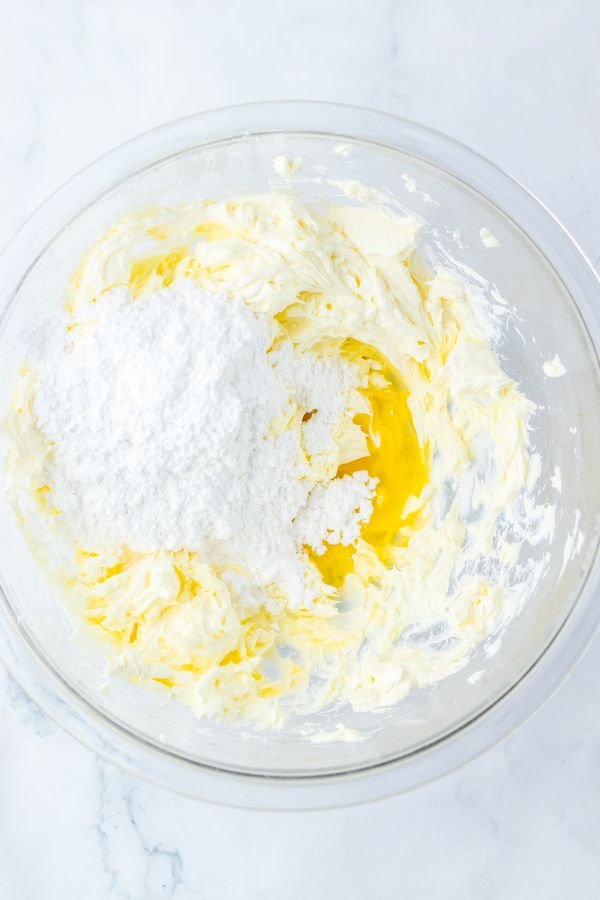
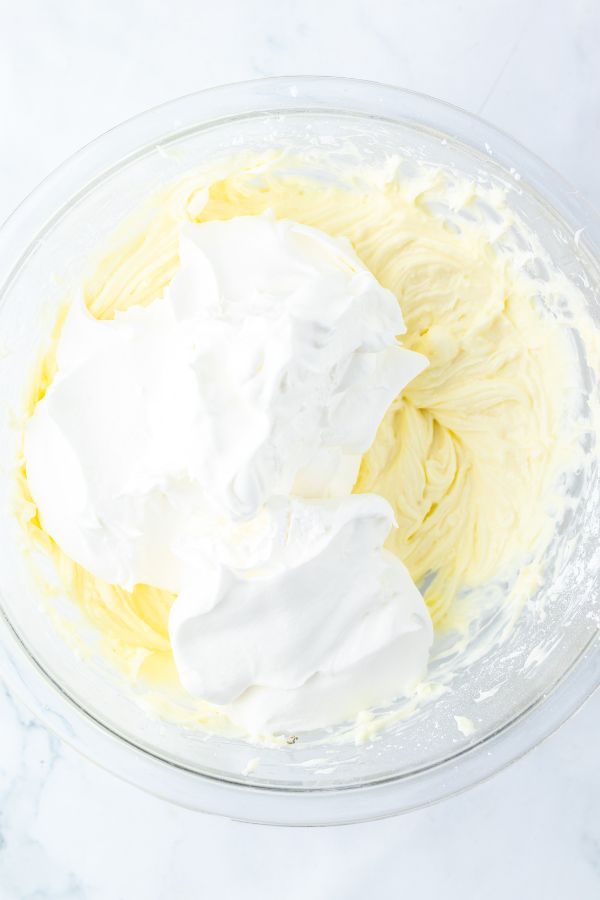
1st layer filling: Use a hand or stand mixer to beat the cream cheese till smooth Add the powdered sugar and orange juice to the whipped cream cheese and combine. Then add the first portion of whipped topping, and gently fold it into the mixture.
Don’t over mix – you want to keep the pillowy volume in your mixture.
Use two cups of the cream cheese mixture to cover the graham cracker crust. Put the rest aside. Smooth the cream cheese mixture out to cover the crust.
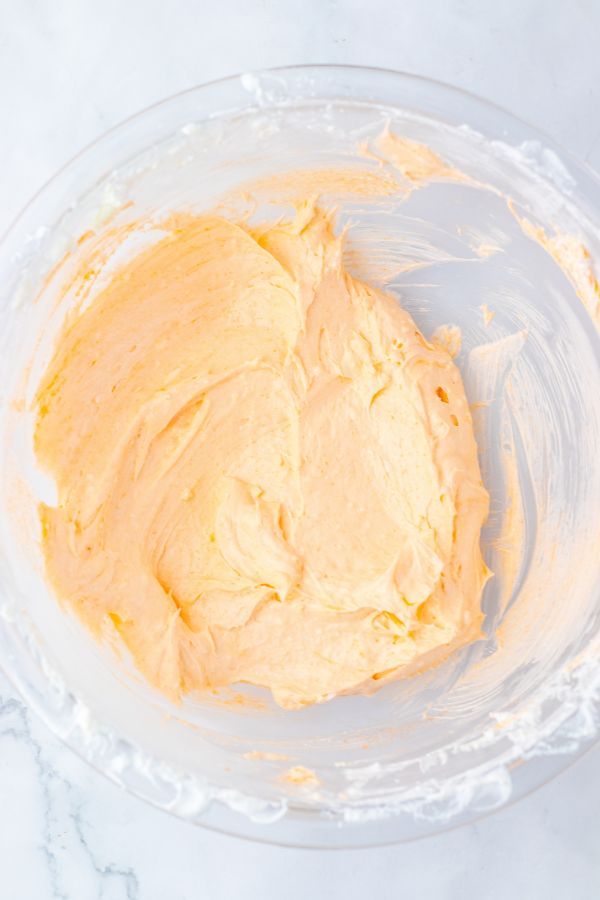
2nd layer filling: To make the orange layer, add the first portion of Jello crystals to the remaining cream cheese mixture. Mix to combine, ensuring there are no white sections remaining in the mixture.
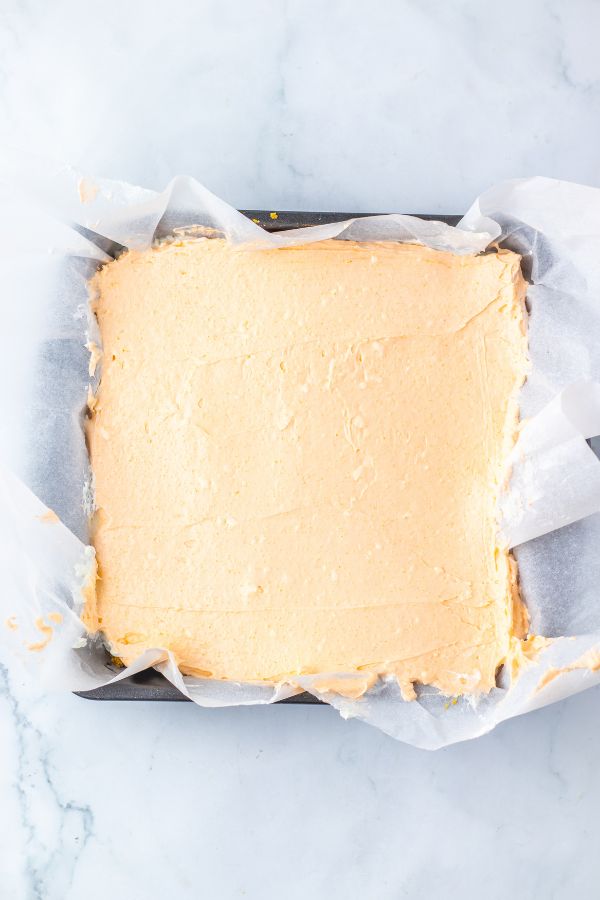
Gently spread the orange cream cheese over the top of the 1st creamy layer in the pan, trying not to mix the layers too much.
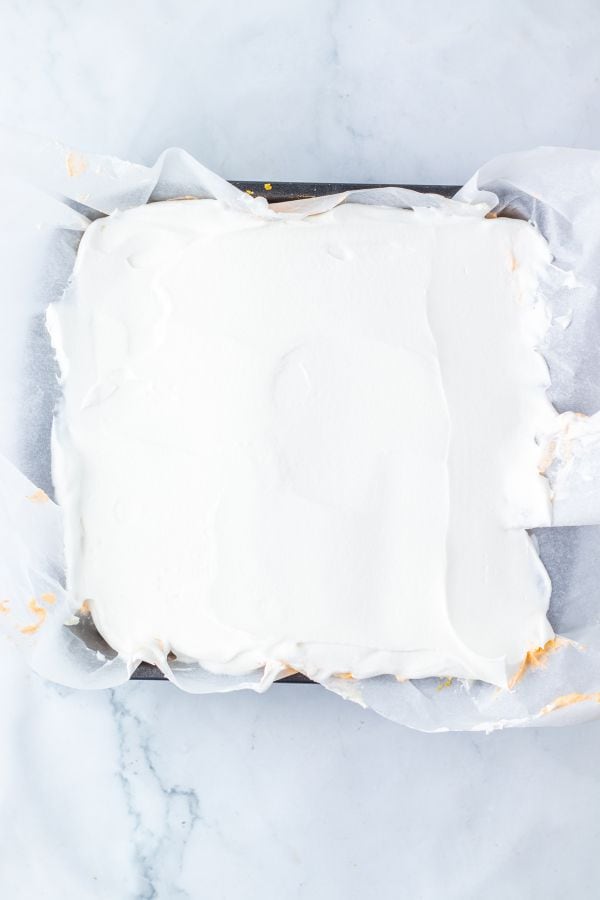
3rd layer filling: Add the remaining portion of whipped topping to the pan to create an additional white layer.
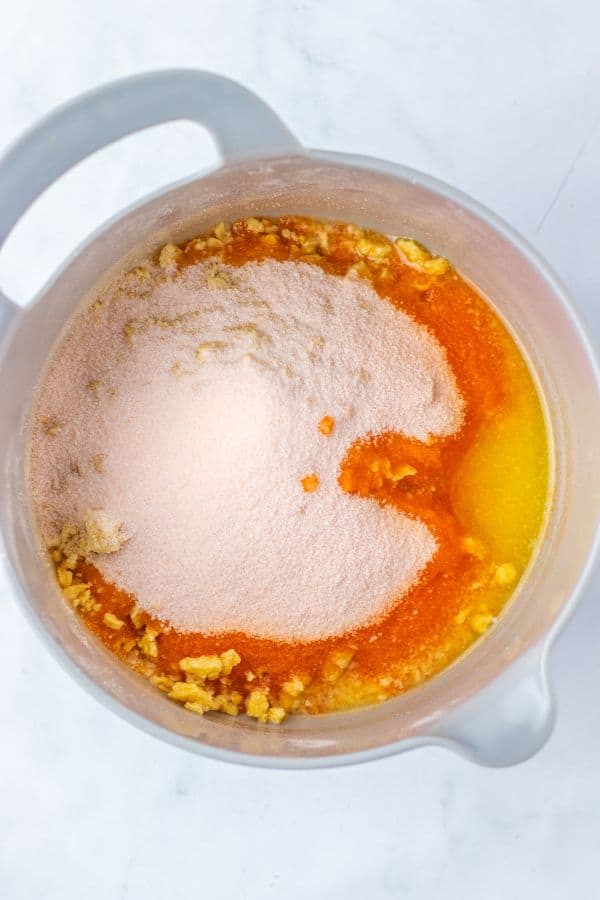
Prepare the crunchy topping: Crush the vanilla cookies and add to a bowl with the second portion of Jello crystals and melted butter. Stir until well combined.
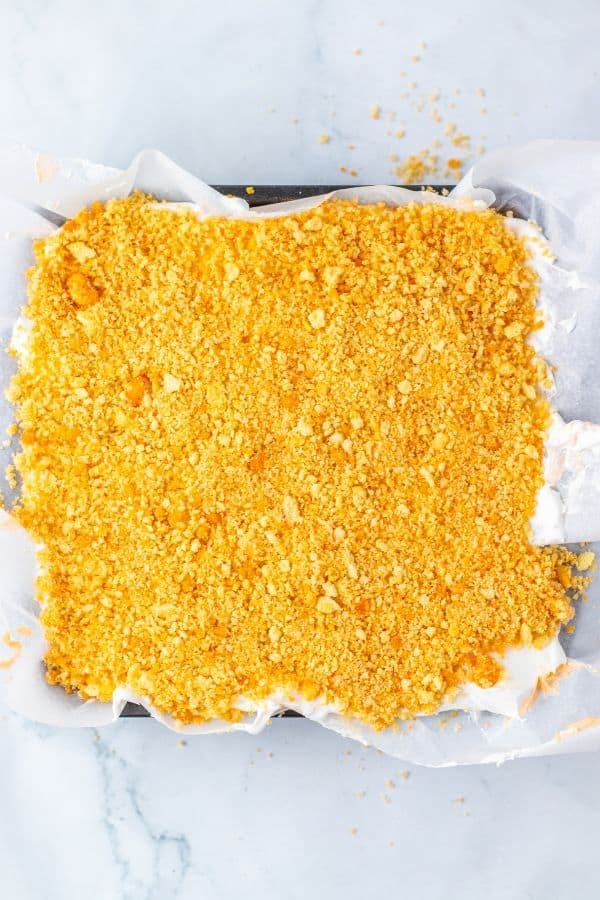
Sprinkle this crunchy topping over the top of the cream cheese filling in the pan. Pop the pan in the refrigerator for at least an hour, preferably a couple more, until chilled and firm.
Serve: When ready to serve, lift the dessert out of the pan using the overhang of parchment paper. Slice into bars and enjoy!
Recipe Tips For Success
Use room temperature ingredients: Softened cream cheese blends smoother and prevents lumps in your filling.
Fold, don’t stir, the whipped topping: Gently folding keeps the mixture light and fluffy instead of dense and heavy.
Allow enough chill time: Let the bars set fully in the fridge so they slice neatly and don’t fall apart.
What To Serve With Orange Dessert Bars
A chilled citrus drink like iced orange lemonade or a light sparkling citrus soda or this espresso tonic pairs perfectly, enhancing the bright orange flavor while keeping things refreshing.
Plate this no bake cheesecake bar with some fresh fruit like strawberries, pineapple, or a mixed berry salad to balance the creamy richness with something light and juicy.
If serving as party desserts, keep these creamsicle desserts in the fridge until ready to serve and slice into small bite size dessert pieces for easier serving and eating!
How To Store No Bake Dessert Squares
These no bake dessert bars are best enjoyed fresh the day they are made. They will soften if left out for too long, so serve them straight from the fridge.
Store: Leftovers should be stored in an airtight container in the refrigerator for 2-3 days. This dessert cannot be frozen due to the crunchy topping and jello mixed through the filling.
More Summer Desserts To Try
- These espresso cheesecake bars are creamy and delicious!
- Peach crumble bars are an easy sweet treat to bake at home.
Loved this recipe? Leave a review, and join me on Facebook and Pinterest for more tasty recipe ideas.

Orange Creamsicle Bars
Equipment
Ingredients
FOR THE BASE
- 2 cups graham cracker crumbs 11-14 whole biscuits
- 1 stick unsalted butter melted
- 1 tablespoon granulated sugar
FOR THE FILLING
- 2 blocks cream cheese room temperature
- 1⅓ cups powdered sugar sifted
- ¼ cup orange juice
- 2 cups whipped topping thawed
- ¼ cup orange jello mix 1/2 a box
- 1 cup whipped topping extra, thawed
FOR THE OREO CRUNCH
- 20 golden oreos crushed
- ½ stick unsalted butter melted
- 3 oz orange jello mix 1 box
Instructions
- Line an 8×8 inch cake pan with parchment paper, leaving an overhang for easy removal later. Set aside.
MAKE THE BASE
- In a large bowl add the graham cracker crumbs and sugar and mix to combine. Add the melted butter and stir with a fork to combine.
- Pour the crumbs into the pan, spread out and flatten gently. Place the pan in the refrigerator and get started on the filling.
MAKE THE FILLING
- Add the cream cheese to a large bowl. Beat with a stand or hand mixer until creamy. Add the powdered sugar and orange juice to the bowl and mix on low until combined.
- Add the whipped topping and fold into the mixture using a metal or silicone spoon until combined.
- Take the pan with the crust out of the refrigerator and create the first layer by adding 2 cups of the cream cheese mixture on top of the crust. Spread out to cover the crust evenly.
- Add the orange jello crystals to the remaining cream cheese mixture in the bowl. Fold in until there are no white streaks. Add the orange cream cheese mixture on top of the white cream cheese layer in the pan, and carefully spread out to create your second layer.
- Add the extra whipped topping on the top of the orange cream cheese to create your third layer, and carefully spread out to an even layer.
MAKE THE OREO CRUNCH
- Add the crushed golden oreos to a bowl and add the melted butter and orange jello crystals. Stir until the oreo crumbs are completely coated.
- Sprinkle the oreo crunch over the top of the whipped topping in the pan. Return to the refrigerator for at least 1 hour to chill and firm up.
- When ready to serve, life the parchment paper up to remove the dessert from the pan. Slice into bars and enjoy!
Notes
Nutrition
Nutrition information is automatically calculated, so should only be used as an approximation.
Pin for later!